As someone who’s spent over a decade optimizing the Messaging and Collaboration environment for global teams, I can tell you that mastering email group management in Outlook is one of the most powerful ways to streamline your team’s collaboration. I’ve seen firsthand how well-organized email groups can transform chaotic communication into efficient workflows, saving hours each week and significantly reducing communication errors.
In this guide, I’ll walk you through creating and managing email groups across different Outlook platforms, implementing best practices for organization, and leveraging advanced features to help you build a scalable, efficient communication system. Whether you’re coordinating a project, hosting an event, or just organizing your contacts, here’s how to create a group in Outlook that will make your email game stronger than ever
For detailed steps on creating, formatting, and managing multiple email signatures in Outlook, visit our step-by-step tutorial “How to Add or Change Email Signature in Outlook“
Table of Contents
How to Create an Email Group in Outlook for Windows
I know that most of you prefer to use Outlook on your Windows PC. So, let’s cover that section first. This is the step-by-step walkthrough of setting up an email group in Outlook on a Windows computer. Just follow along.
- Launch the “Outlook” application on your Windows PC. If you’re using Outlook for the first time, ensure you’re signed in with your Microsoft account.

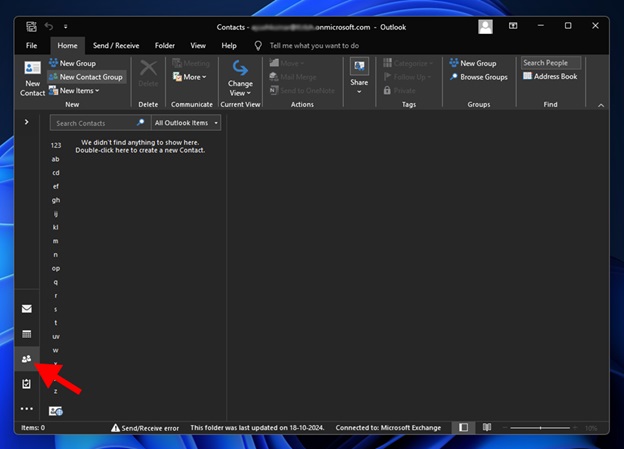
- Look at the bottom-left corner of the Outlook window. You’ll notice several icons like Mail, Calendar, and People. Click on the “People” icon (sometimes labeled as Contacts). This takes you to the section where your contact list is stored.

Tip: If you don’t see the People icon, expand the navigation bar by clicking on the three dots (…) and selecting “People” from the dropdown menu.
- Once you’re in the “People” section, look at the top toolbar. You’ll find a button labeled “New Contact Group” (in some versions, it might just say “New Group”). Click on “New Contact Group” to open a new window.
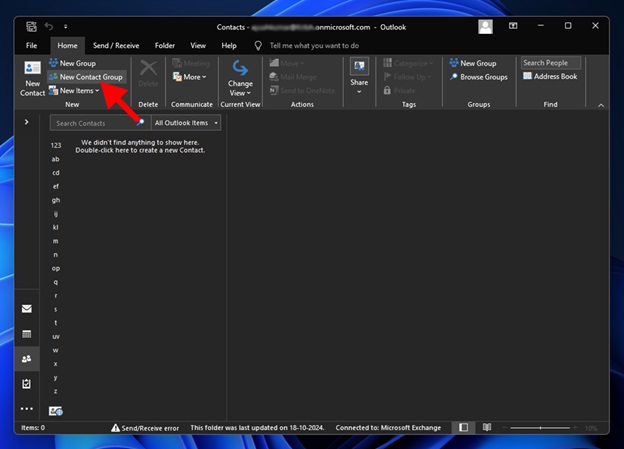
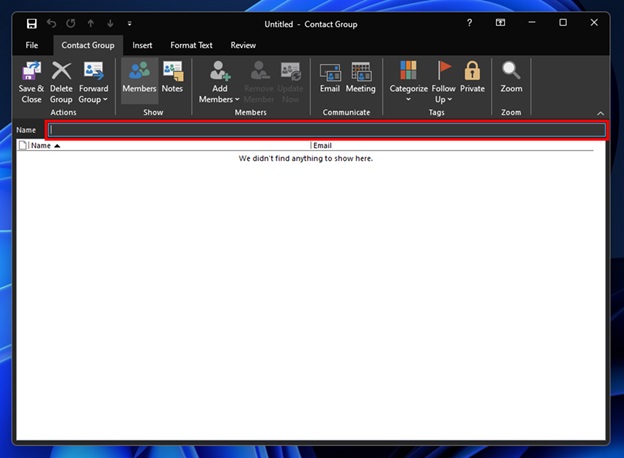
In this window, you’ll see a field at the top where you can type a name for your group. Choose a descriptive name that makes it easy to identify the Outlook group later (e.g., “Marketing Team” or “Weekly Sync Group”).
Tip: Be specific with group names, especially if you manage multiple teams or projects. This avoids confusion when sending emails.
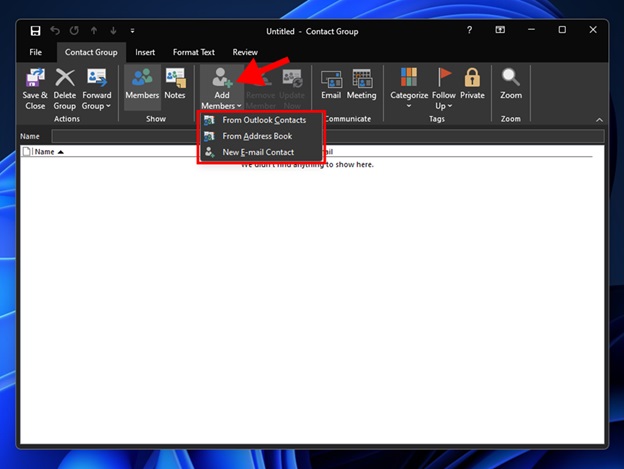
- With the New Contact Group window still open, locate the “Add Members” button in the toolbar. Click on it to reveal three options:
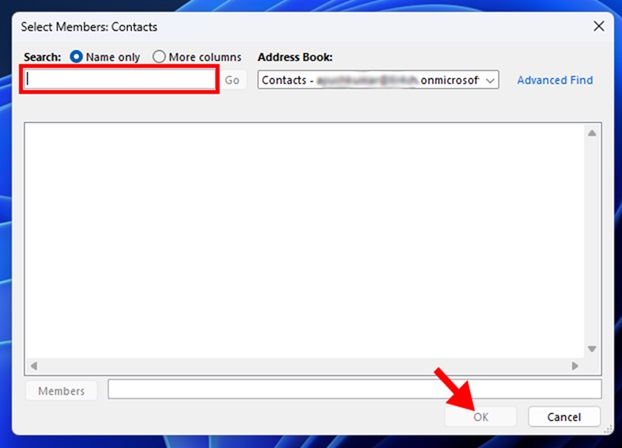
- From Outlook Contacts: This option lets you choose people already saved in your Outlook address book.
- From Address Book: If you’re part of an organization or use an enterprise account, this option allows you to select Outlook group members from your company directory.
- New Email Contact: Use this option to manually add an email address that isn’t saved in your contacts.

After selecting the appropriate option:
- For Outlook Contacts or Address Book, browse through the list of names, select the ones you want to add, and click OK.
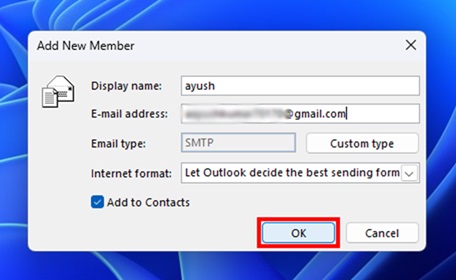
- For New Email Contact, type the person’s name and email address into the provided fields, then click “OK.”

- Repeat this process for all members you want to add to your group.
Tip: Double-check your member list to ensure you didn’t miss anyone.
- Once you’ve finished adding members, click on the “Save & Close” button in the top-left corner of the window. Your new Outlook group will now appear in your list of contacts under the name you assigned to it.

Tip: To find your group easily, use the search bar in the Contacts section and type the group name.
How to Create an Email Group in Outlook on Mac
Up next, there are a lot of macOS users working on Microsoft Outlook on a daily basis to handle email queries. However, the situation faced by these users is no different. It can become overwhelming when you’re repeatedly sending the same message to multiple people on Mac as well.
But luckily that’s where email groups step in—they save time and effort by letting you email a bunch of people all at once with just a single click. Here’s the Mac-specific process of creating an Outlook group.
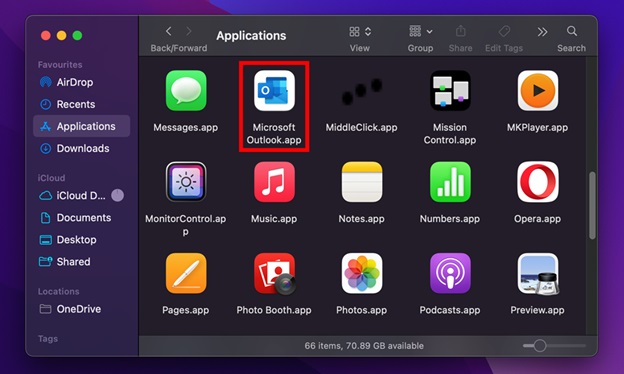
- Start by opening the “Microsoft Outlook” application on your Mac. You can find it in your Applications folder.
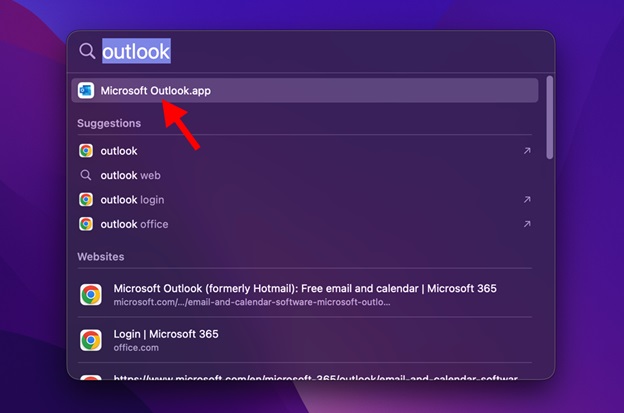
Alternatively, you can search for it using Spotlight (press Command + Space) and then type Outlook.
- Once Outlook is open, look at the left of the Outlook window. You’ll see several icons representing different sections of Outlook—Mail, Calendar, and People. Click on the “People icon” (which looks like two silhouettes) to access your contacts.
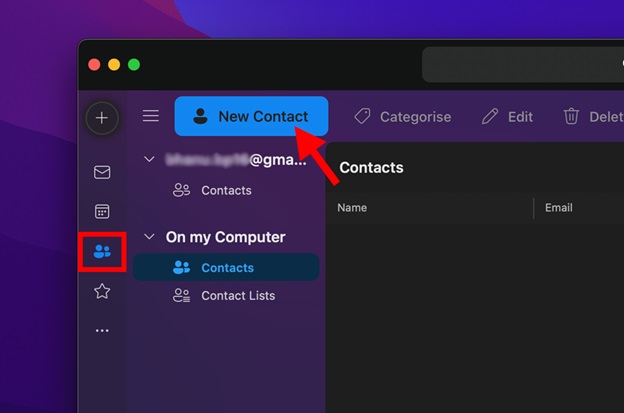
At the top of the Outlook window, locate the New Contact button.

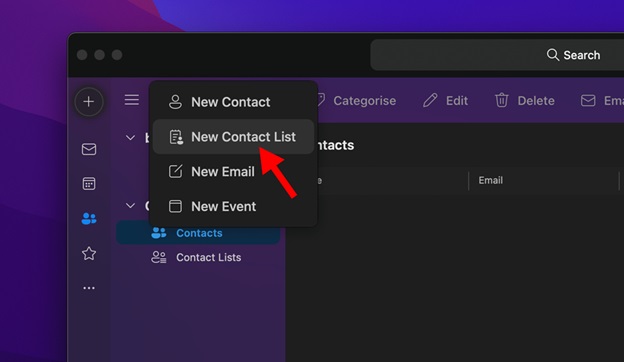
- Hover your cursor over it and click on the “New Contact List” option from the following dropdown menu. This will open a new window where you can create your group.
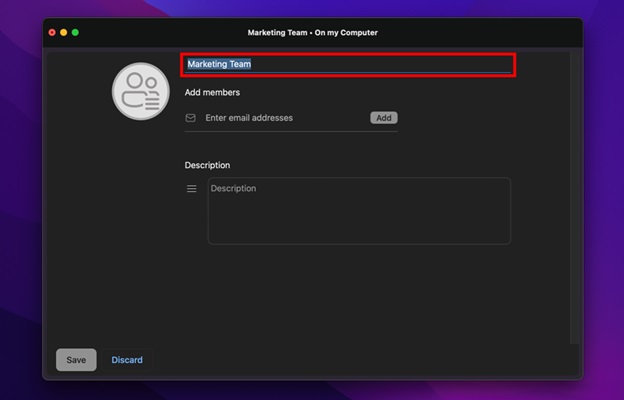
- In the new window, you’ll see a blank text field for the Contact List Name. Enter the name of your Outlook group, e.g., “Marketing Team.”
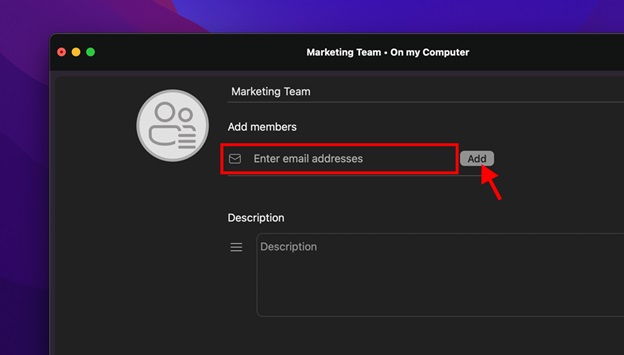
- In the same window where you named your group, locate the text field under the add members section, type the contact email, and click on the “Add” button next to it to add that contact.
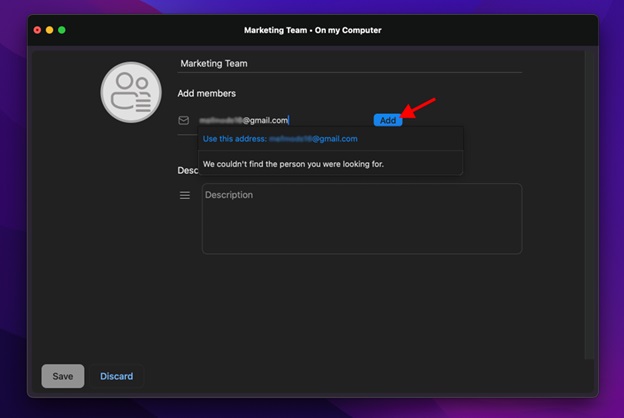
If you enter an email address that is not in your contacts, then you’ll get an option. saying “Use this email address” to inform you about the same. Here, you can either click the “Add” button or the info message option to add that email to your group.
Continue adding members until your group is complete.
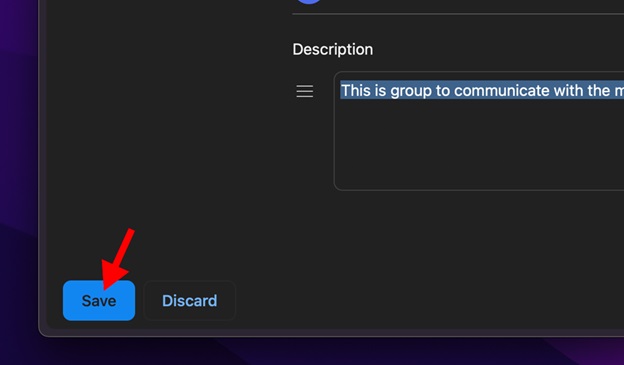
- You can also add a description to your Email group in the text box under the Description section.
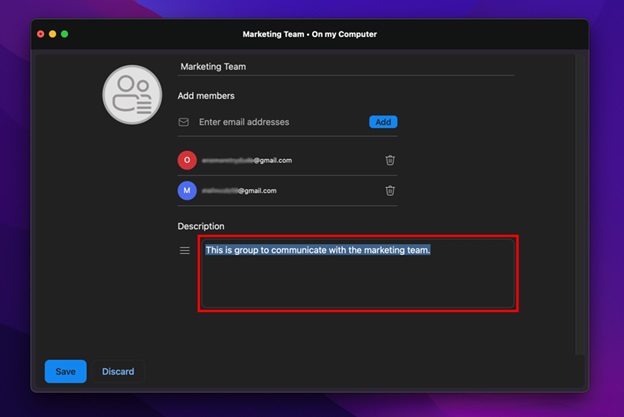
- Once all members are added, click the “Save” button at the bottom-left of the popup window to save your new email group.
How to Make an Email Group in Outlook Web
Creating an email group in Outlook Web is also no big deal like other platforms. This allows you to send emails to multiple people simultaneously without manually adding each recipient from your web browser. Here’s the step-by-step process to get started.
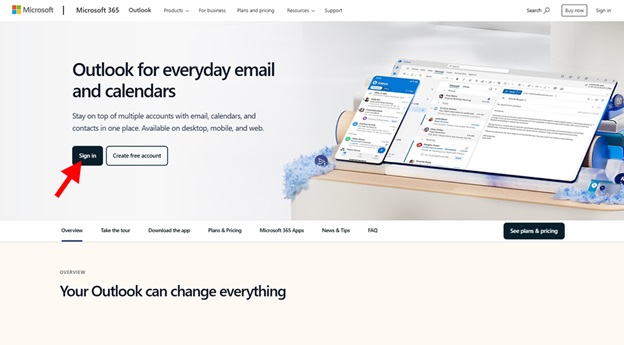
- Visit the Outlook website and sign in with your Microsoft account credentials. Use the same account where you want to manage the email group.
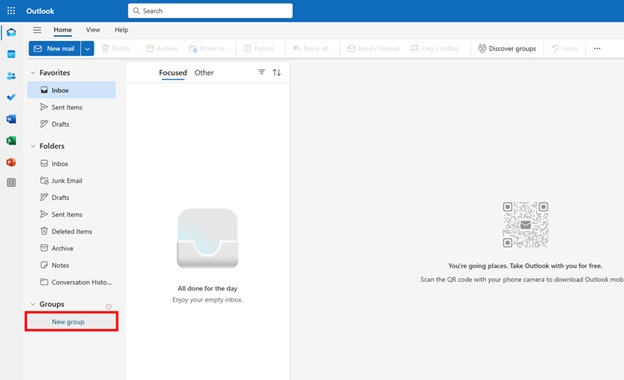
- Once signed in, you’ll land on the Outlook home page, which displays your inbox. Look at the left-hand navigation pane, where your folders such as Inbox, Sent Items, and Drafts are located. Scroll down if necessary and find the “Groups” section. In the Groups section, click on the “New Group” button. This will open a dialog box where you can configure your new group.
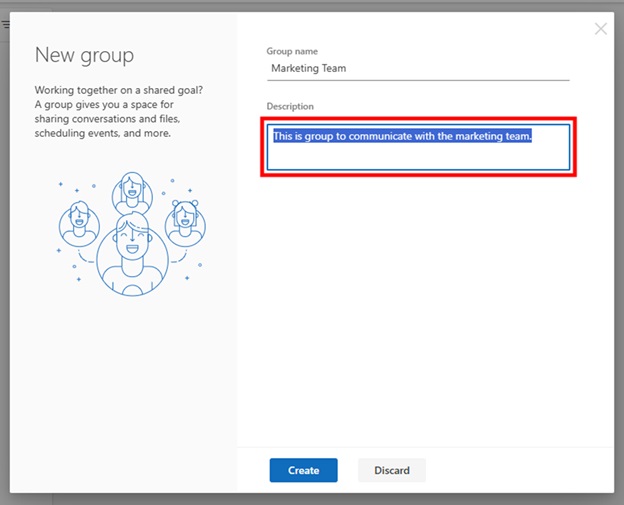
- In the dialog box, find the field labeled “Group Name.” Type a meaningful and easily identifiable name for your group, such as “Project Team” or “Marketing Committee.”
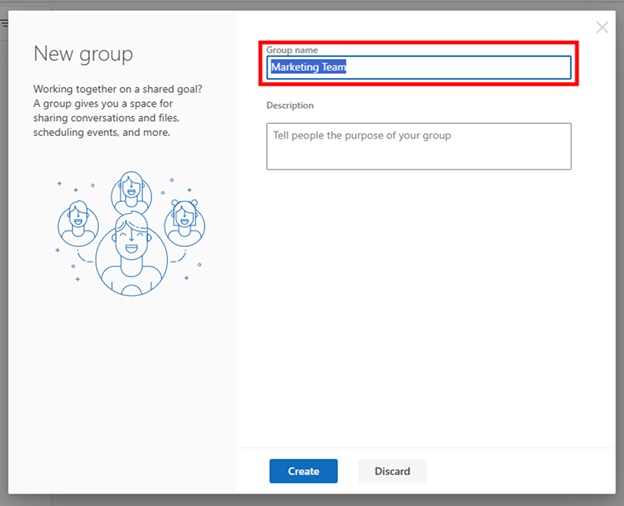
Below the group name, you’ll see a field for the group description. Here, you can briefly describe the group’s purpose, such as “This is a group to communicate with the marketing team.”
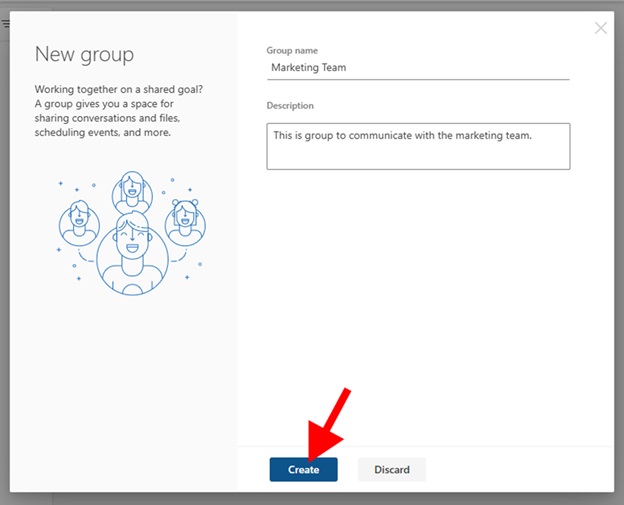
- After filling in the necessary fields, click on the “Create” button to finalize the initial setup of your email group.
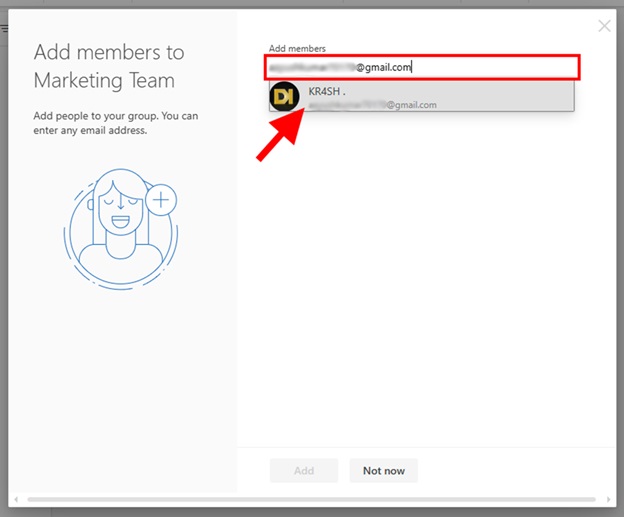
- you’ll be prompted to add members after creating the group. Start typing the email addresses or names of the people you want to include in your group. Outlook will suggest contacts from your address book as you type. Select the appropriate ones.
- Once you’ve selected all the contacts you want to include, click the “Add” button at the bottom of the popup window to save your new email group.
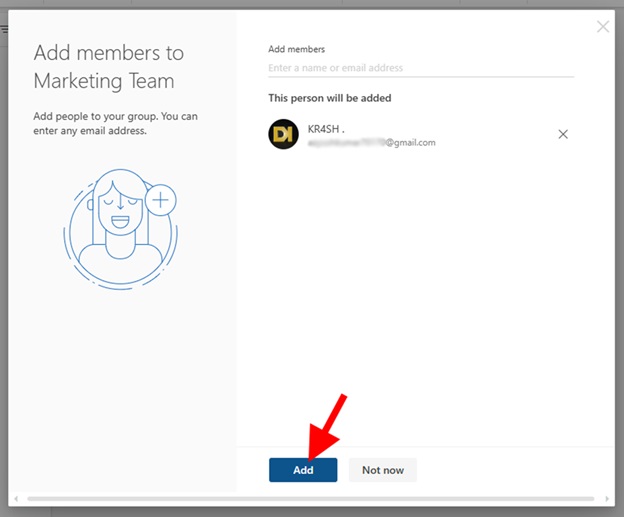
Tip: If you’re unsure about the complete list of members, you can skip this step for now. You can always add or remove members later by editing the group settings.
How to Send Mass Email in Outlook
Now that you have successfully created the Outlook email group, it’s time to send your email to all the recipients of that group at once. Here’s how you can quickly send one email to multiple people without typing out every single address.
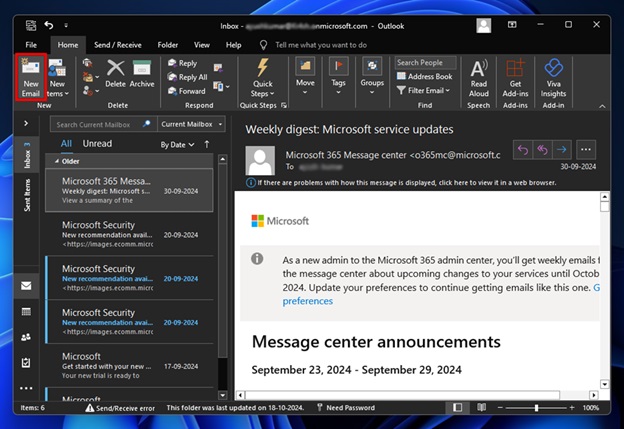
- Launch Outlook on your device. In the main window, click the “New Email” button. This button is usually located on the top-left corner of the Outlook ribbon. Clicking it opens a blank email composition window.
- In the blank email, move to the To field at the top. Start typing the name of your contact group. For example, if your group is called “Marketing Team,” type “Marketing Team.” Outlook will suggest matches from your contact list. Select the contact group when it appears.
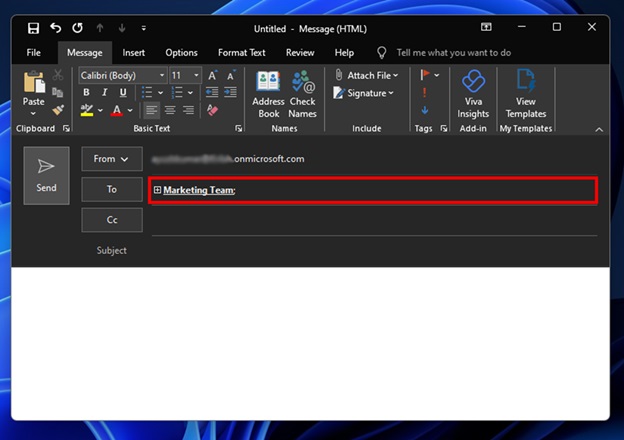
Tip: You can also add contact groups to the “Cc” (carbon copy) or “Bcc” (blind carbon copy) fields if you want to include other groups or maintain confidentiality.
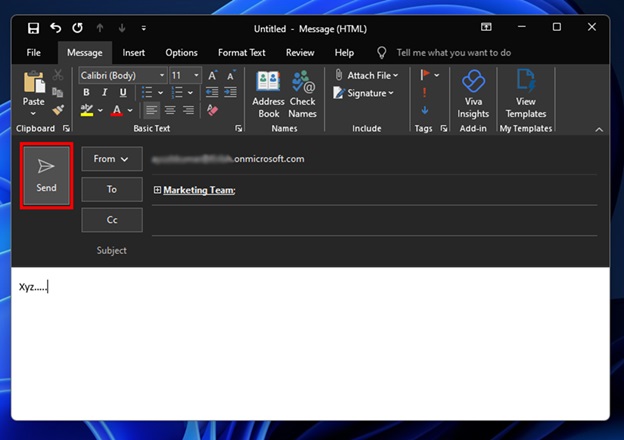
- Write your subject line in the Subject field, and then compose your message in the body of the email. Once you’re satisfied with your message, double-check the recipients to ensure you’re sending it to the right group. Click the “Send” button to dispatch your email.
How to Add or Remove Contacts from an Outlook Email Group
Managing your contact group is essential if you want to keep it updated with relevant members. Whether you want to add a new colleague to the team or remove members who are no longer needed, Outlook makes the process easy. As a group owner, here’s how you can add or remove members from the Outlook group.
- Open Microsoft Outlook and navigate to the “People” section.
- Use the search bar to locate your contact group. Type the name of the group (e.g., “Project Team”), and Outlook will display matching results. Double-click on your contact group to open it in a new window.

- Inside the group window, locate and click the “Add Members” button. This button is typically found in the toolbar or ribbon at the top of the window.
Choose one of the following options:
- From Outlook Contacts: Select members from your saved contacts.
- From Address Book: Add members from your organization’s shared address book (common in workplaces).
- New Email Contact: Manually add a member by typing their name and email address.
- After selecting or entering the new members, click “OK” to add them to the group.
Tip: Always review the group after adding members to ensure that you haven’t accidentally included duplicate entries.
- In the same group window, locate the list of existing members. Click on the name of the member you want to remove. Press the “Remove Member” button in the toolbar or ribbon. The selected contact will be instantly removed from the group.
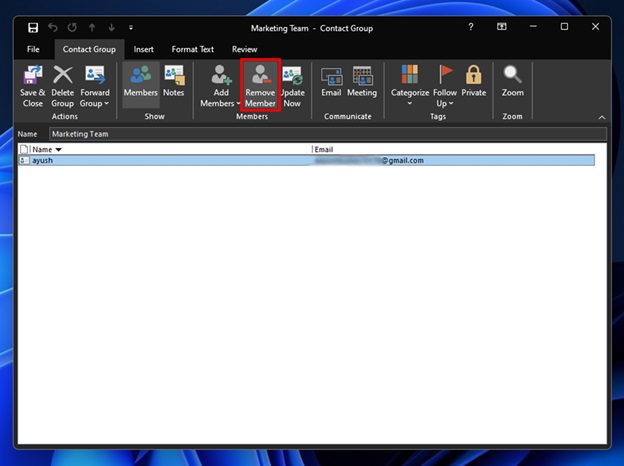
Tip: Removing a member doesn’t delete them from your overall contacts—it only removes them from the specific group.
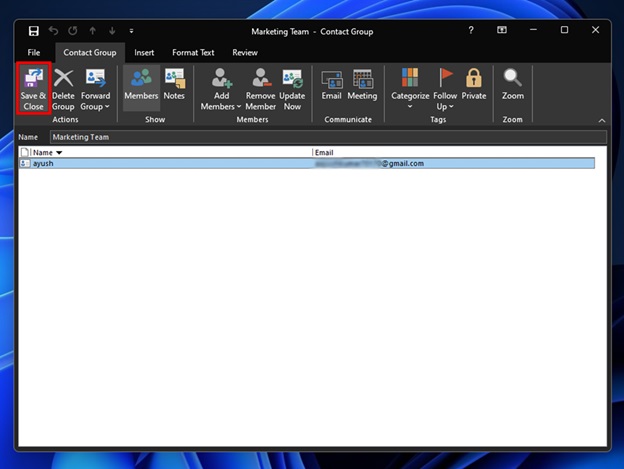
- After making your changes, click “Save & Close” to ensure your updates are saved. The group will reflect the updated list of members the next time you send an email.
How to Delete a Contact Group in Outlook
If you’ve created a contact group in Outlook and no longer need it, it’s easy to delete it and keep your contact list clean and organized. It can be an outdated project team, an unused family group, or any collection of contacts you no longer have group conversations with; removing it takes just a few steps.
- Start by opening the “Outlook” application on your computer. If you’re already signed in, the home screen will appear with your inbox.

- Once Outlook is open, look at the bottom-left corner of the screen. You’ll see icons for Mail, Calendar, People, and Tasks. Click on the “People” icon to access your contact list.

- Once you’re in the People section, carefully look for the contact group you want to delete. Contact groups usually have a group icon next to their name (instead of an individual contact icon).
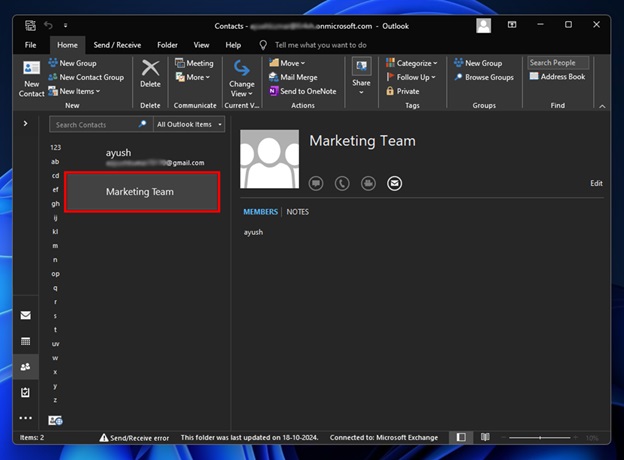
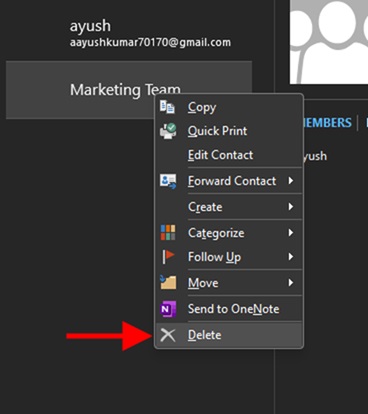
- Once you’ve located the group, right-click on the group’s name. This will open a small menu, known as the “context menu,” with a variety of options for managing the group. In the context menu that appears, Click on “Delete.”
Outlook will immediately remove the group from your contacts list. You won’t receive any further confirmation, so make sure you no longer need the group before deleting it.
Conclusion
Now, I’ve shown you how email groups in Outlook can transform your daily communication. You no longer have to deal with the tedium of repeatedly typing the same email addresses when sending messages to your team, organizing projects, or keeping in touch with friends and family. By following what I’ve taught you in this guide, you’ll have a streamlined process that lets you forget about managing individual addresses.
Start with creating a single well-organized group, then gradually expand your system as you become more comfortable with these features. The most important thing is to begin using what you’ve learned. If you run into challenges along the way, you can always refer back to specific sections of this guide to help you move forward. Your understanding of email groups will grow stronger with each new group you create and manage.
Following the steps outlined in this guide, you can easily create, manage, and even delete contact groups across Outlook Windows, Mac, and Web versions. Once you start using email groups, you’ll notice how much time and effort it saves—no more hunting for contacts one by one or worrying about forgetting someone important.
Want to make Outlook work better for you? My step-by-step tutorial shows you how to adjust your Outlook view settings, manage reading panes, and create custom views for different email folders Check out my complete guide here “How to Change Outlook View“
Frequently Asked Questions (FAQs)
Yes, you can create nested groups in Outlook. Simply add an existing group as a member of another group. When you send an email to the parent group, it automatically reaches all members of the nested groups. This is particularly useful for organizational hierarchies or project teams with multiple subgroups. Ensure you manage membership updates at the parent and nested group levels to maintain accurate distribution.
Outlook’s member limits vary by platform. Desktop Outlook allows up to 500 members per distribution group. Office 365 groups can have up to 1000 members. Exchange Online distribution lists support up to 1000 members. For larger needs, consider creating multiple linked groups or consult your IT administrator about enterprise-level solutions.
While Outlook itself doesn’t offer this feature, you can use Microsoft 365 dynamic distribution groups to automatically include members based on attributes like department or location. This requires admin privileges and works with Exchange Online. Contact your IT administrator to set up dynamic groups based on your organization’s directory attributes.
When you delete a group, it’s removed from your contacts and address book. The deletion doesn’t affect the individual contacts within the group – they remain in your address book. However, any rules, automatic replies, or forwarding settings associated with the group will stop working. Always export your group details before deletion if you might need to recreate them later.
Yes, email groups sync automatically across all devices when you use the same Outlook account.