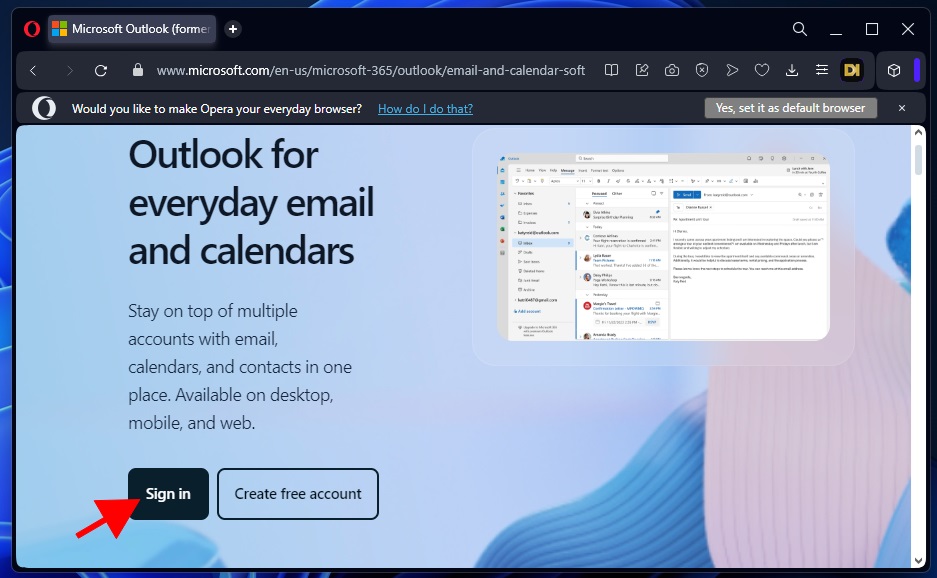
Outlook calendar is an incredibly effective tool for organizing your schedule. Sharing your calendar in Outlook can help bring order to chaos, whether collaborating on a project with colleagues, managing family schedules, or simply trying to stay organized.
In this guide, I’ll take you through everything you need to know about how to share calendar in Outlook—on Windows, the web, and Android devices. I have also explained how to manage sharing permissions, share calendar snapshots via email. Let’s get started.
Note: I have used Microsoft Outlook Classic for demonstration purposes in this guide
Table of Contents
How to Share Calendar in Outlook for Windows
Most of you already use Outlook on your Windows PC, so why not start the guide here? Here’s how simple calendar sharing in Outlook on your Windows machine is.
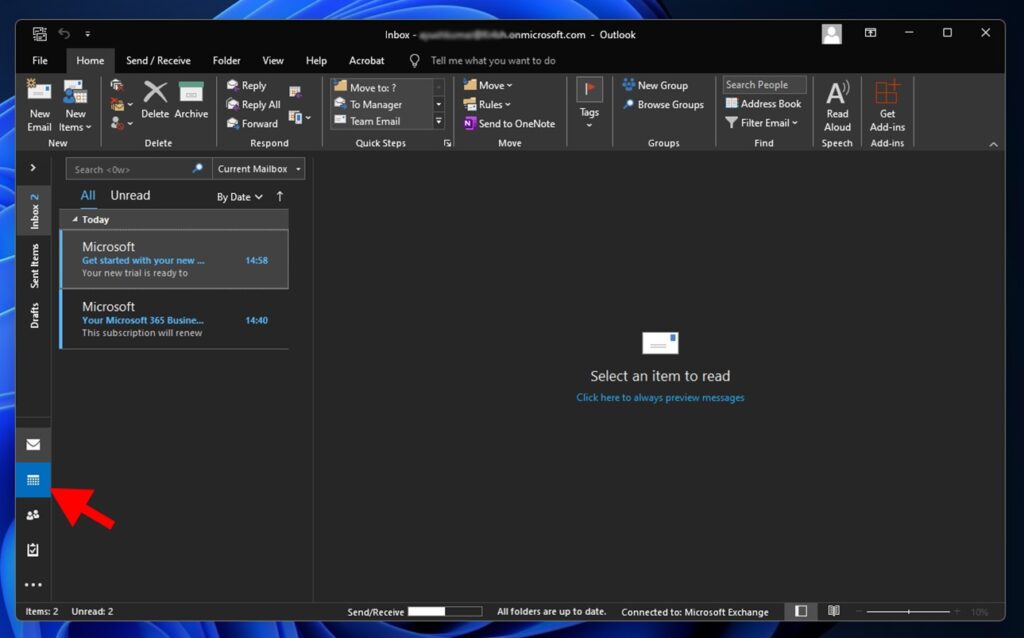
- To get started, open Outlook on your Windows PC. Ensure you’re logged into the account with the calendar you want to share. Once Outlook is open, you’ll see various icons on the left-hand side of the screen. Click on the “Calendar” icon at the bottom of this navigation pane. This will switch the view to your calendar.
- In the Calendar view, look to the left side of your screen under the “My Calendars” section. Here, you’ll find a list of all the calendars associated with your Outlook account. Right-click on the calendar you want to share. A context menu will appear; select “Share > Share Calendar.”
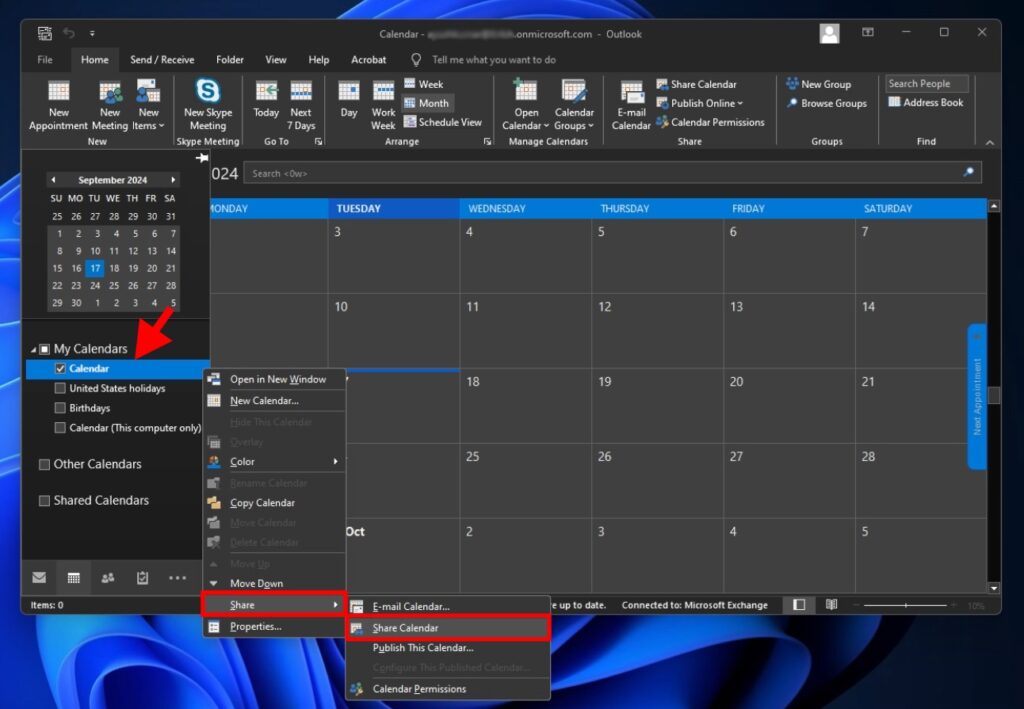
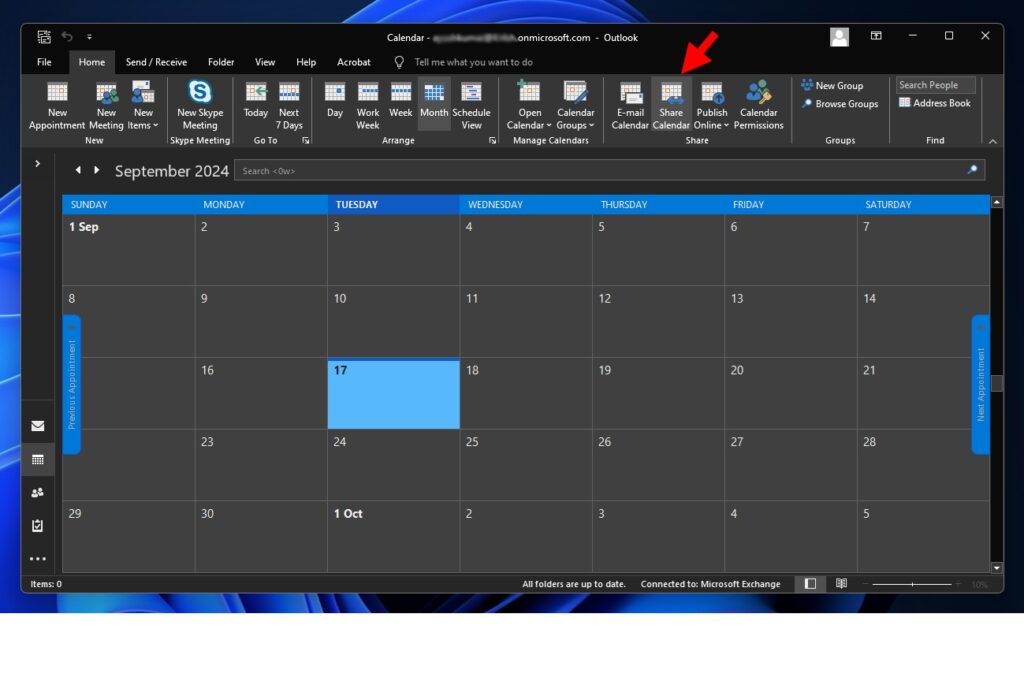
Alternatively, you can go to the Home tab and click on the “share calendar” option in the Share section.
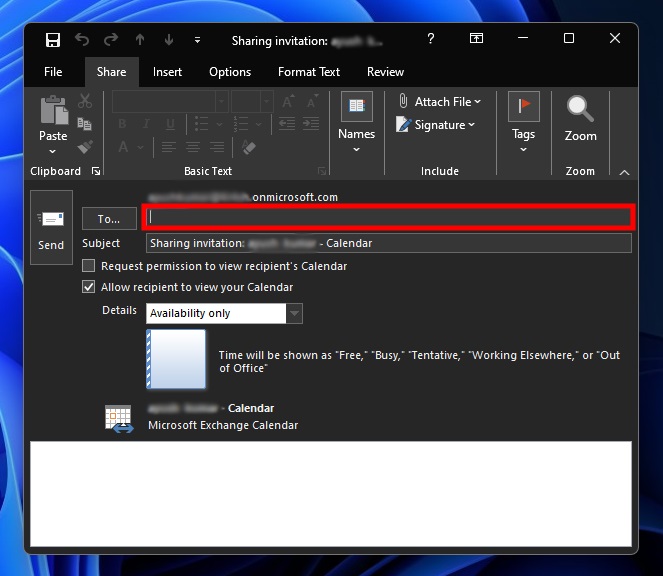
- A new sharing invitation window will pop up, prompting you to enter the email address of the person you want to share your calendar with. Click the “To” field and type in the recipient’s email address.
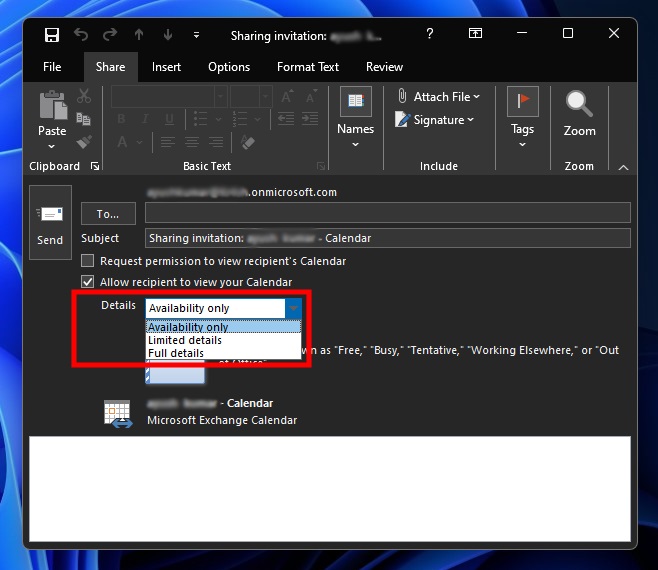
- Look for the “Details” drop-down menu in the sharing invitation window. Click on it, and you’ll see three options:
- Full Details: The recipient will have complete access to your calendar. They can see all the details of your events, including meeting topics, locations, and descriptions. Choose this if you’re working closely with someone and need full transparency.
- Limited Details: This option provides a bit more privacy. The recipient will see basic information like meeting subjects and locations but not detailed descriptions or notes. This is useful for sharing with colleagues or acquaintances where you want some confidentiality.
- Availability Only: This is the most restrictive option. It only shows whether you are free or busy at any given time without revealing any event details. This is ideal for sharing with people who only need to know your general availability, not the specifics of your schedule.
- Once you’ve chosen the appropriate permission level, click the “Send” button to finalize the sharing process.
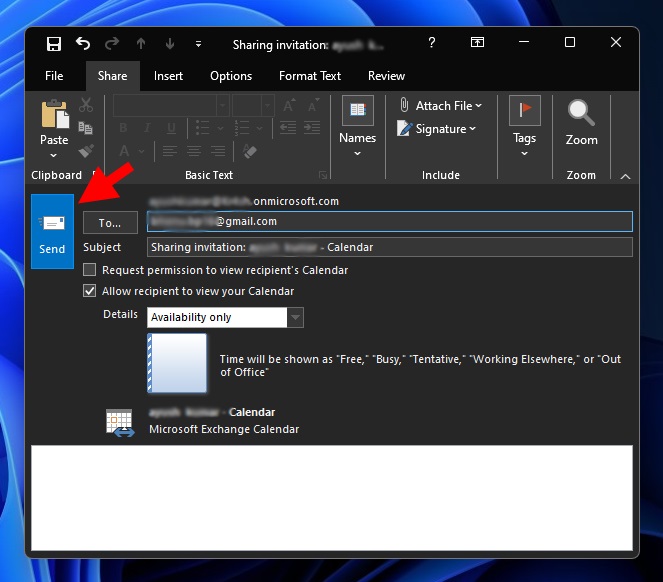
The recipient will receive an email invitation with a link to view your calendar. They must click the link to add your calendar to their Outlook account. This makes it incredibly easy to keep track of each other’s schedules, particularly in a professional setting.
How to Share an Outlook Calendar Snapshot in an Email
To share a static version of your Outlook calendar instead of providing ongoing access, you can easily send a calendar snapshot via email. This method is convenient when you want to give a quick overview of your availability for a specific period without granting full access to your calendar. Here are the steps to share an Outlook calendar snapshot in an email.
- First, launch Outlook on your device. You need to be in the calendar section to share a snapshot. If you’re in your inbox or another section, click the “Calendar” icon at the bottom of the navigation pane. This will switch your view to the calendar interface.

- Once you’re in the calendar section, look at the top menu bar for the “Home” tab. Click on it to see a variety of options related to your calendar. Now, find and click on “Email Calendar.” This option is usually found in the toolbar, and clicking on it will open a new email window where you can configure the details of the calendar snapshot you want to share.
Now, find and click on “Email Calendar.” This option is usually found in the toolbar, and clicking on it will open a new email window.

- In the new email window that opens, you’ll see several options for customizing your calendar snapshot. First, choose which “calendar” you want to share if you have more than one.
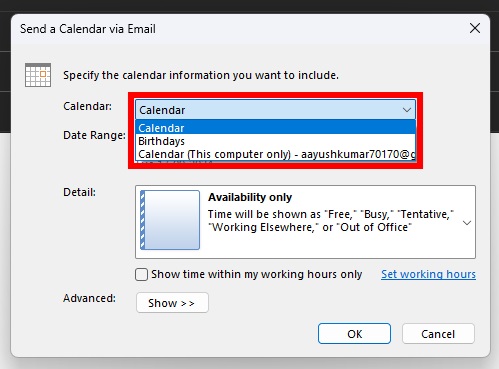
- Then, select the date range for the snapshot. Outlook provides several predefined options, such as “Today,” “Tomorrow,” “Next 7 Days,” “Next 30 Days,” and “Whole calendar,” and you can choose “Specify dates” if you want to specify a more tailored period.
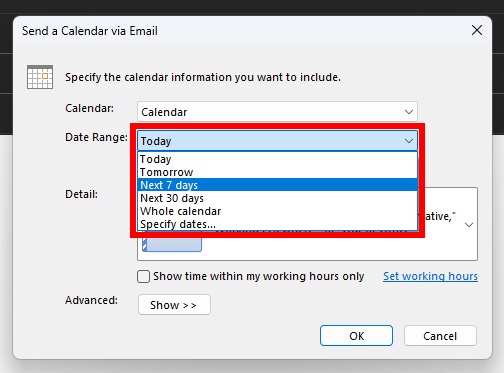
- For instance, if you only want to show when you’re busy without revealing specific details about your meetings or appointments, choose “Availability Only.”

- Once you’ve set the desired options, click “OK.”
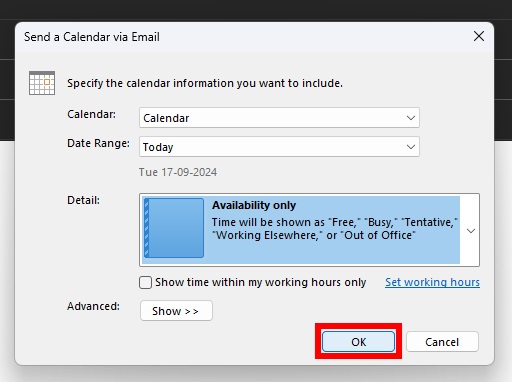
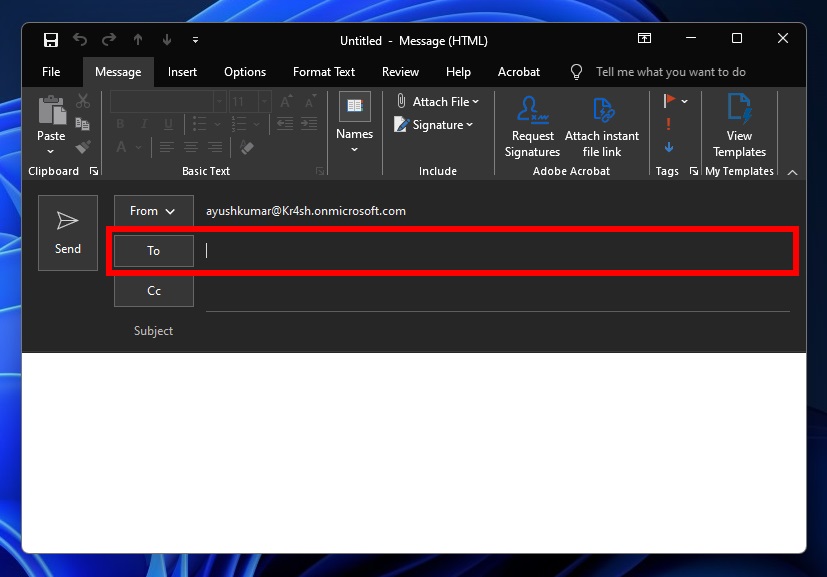
- Outlook will generate a preview of your calendar snapshot based on the selections you’ve made. Now that your calendar snapshot is ready, it’s time to share it. Enter the recipient’s email address in the “To” field in the email window. If you want to send it to multiple people, add more recipients as needed.
Tip: You can also add a personal message in the email body to provide additional context.
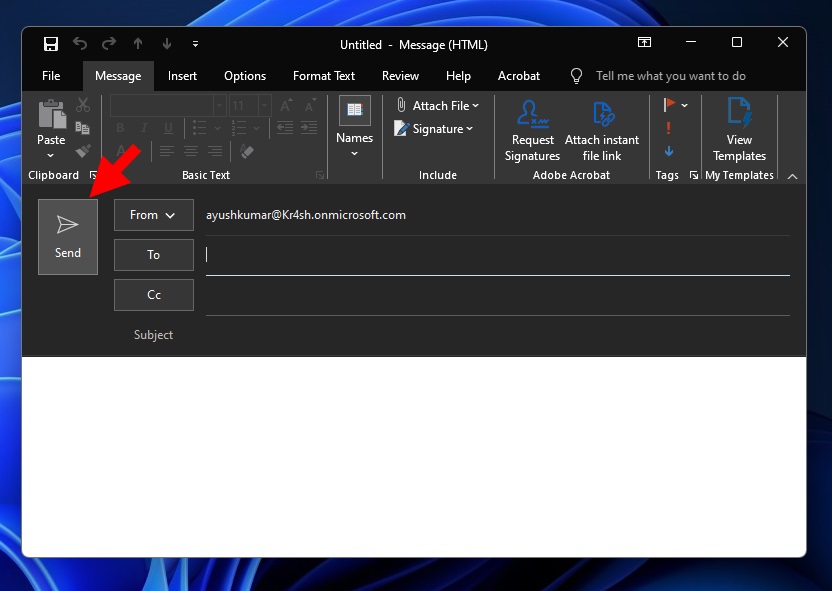
- Finally, click the “Send” button, and the recipient will receive an email with your calendar snapshot attached. This file will provide a clear and concise overview of your schedule for the selected period without giving the recipient ongoing access to your calendar.
How to Change Calendar Sharing Permissions in Outlook on Windows
After sharing your Outlook calendar, you might need to adjust the permissions. Let’s say you want to give someone more access or restrict their view; modifying these settings is also very much possible. Here’s how.
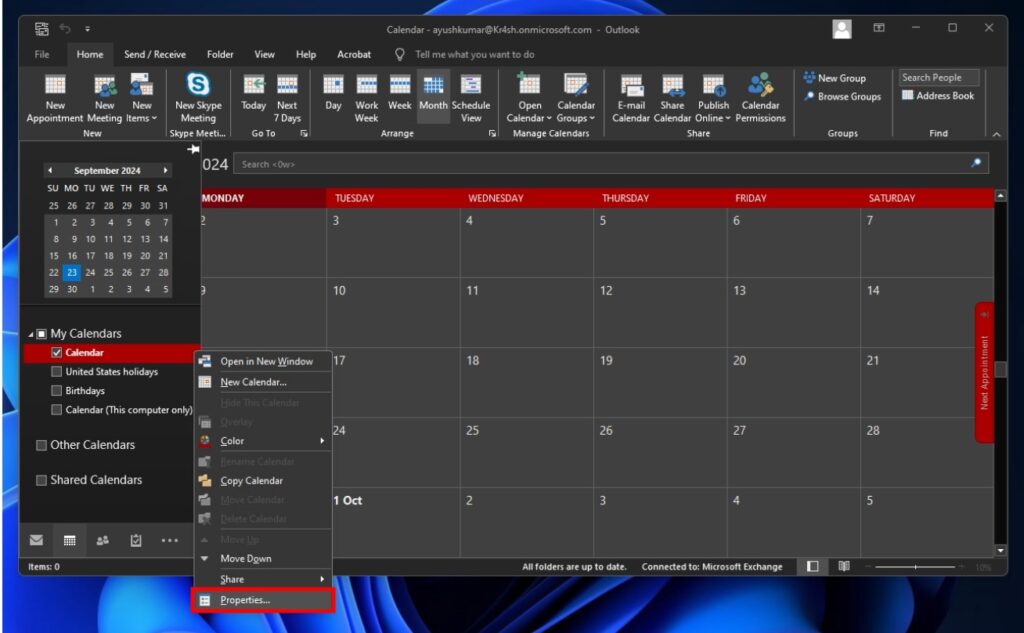
- First, open Outlook on your Windows PC. If you’re not already in the calendar view, you’ll need to switch to it. Look at the bottom of the Outlook window, and you’ll see icons for “Mail,” “Calendar,” “People,” and “Tasks.” Click on the “Calendar” icon to switch to the calendar view.

- On the left side of the screen, you will see a list of all your calendars under “My Calendars.” Right-click on the shared calendar for which you want to modify permissions and select “Properties.”
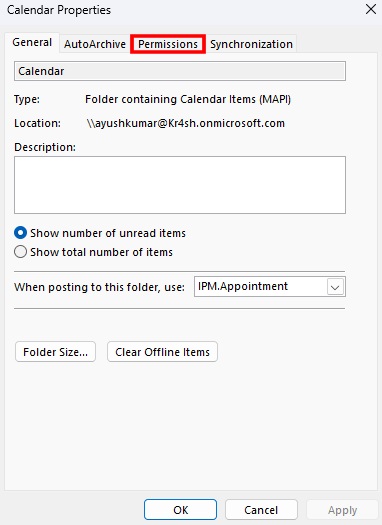
- This will open the calendar properties window with a lot of settings to manage, including permissions. Switch to the “Permissions” tab and click on the name of the user whose permissions you want to change.
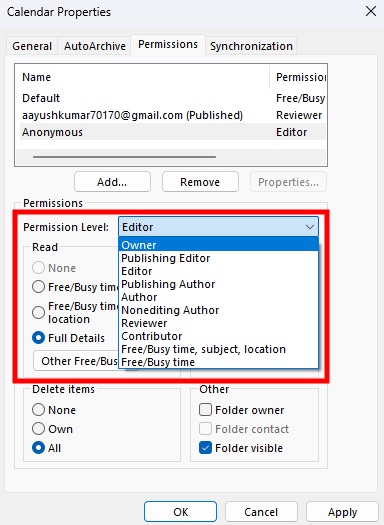
- Now, it’s time to adjust the settings according to what you want. You can choose from several permission levels:
- Owner: Allows the user to see all event details, including titles, locations, and notes.
- Free/Busy Time, Subject, Location: Allows the user to see when you’re free or busy, along with the subject and location of the events.
- Free/Busy Time Only: The user can only see when you are available or busy without any event details.
- Editor or Reviewer: Allows the user to edit calendar entries or review them without making changes.
And a lot more.
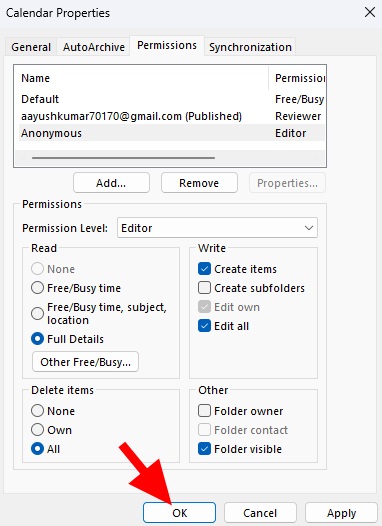
- After adjusting the sharing permissions to your satisfaction, click “OK” to save the changes. Doing so will immediately update the shared calendar permissions, and the user will have their new level of access applied.
How to Share Your Calendars in Outlook for Web
If you prefer using Microsoft Outlook on the web instead of the desktop application, you are still welcome to share your calendar. You can do it all from the browser without needing to install any additional software. Here’s how you can easily share your calendar in Outlook for the web, step-by-step:
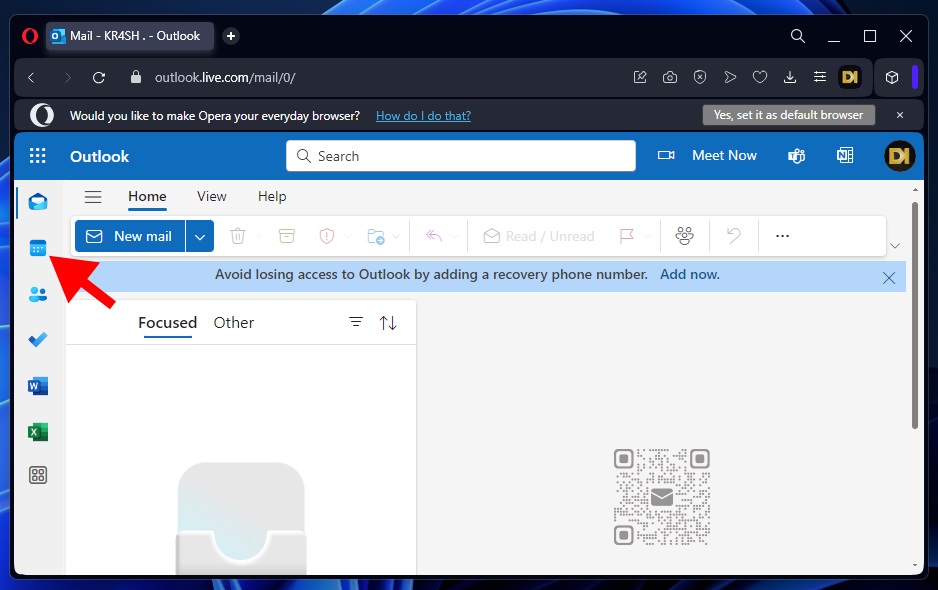
- Open your web browser and go to Outlook.com. Enter your email address and password to sign in to your Outlook account.
- Once you’re logged in, click on the Calendar icon located in the left corner of the screen. This action will switch you from the Mail view to the Calendar view, where you can manage all your calendar settings.
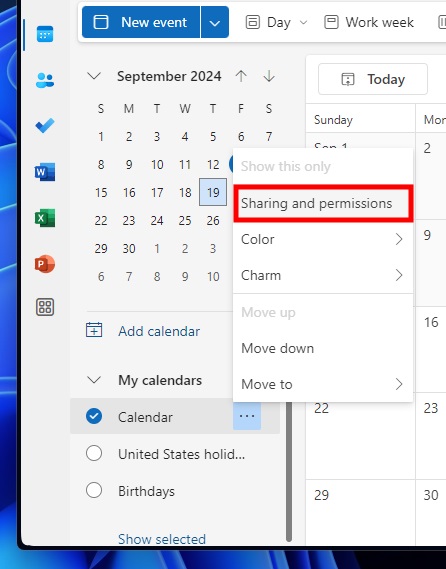
- On the left sidebar, you’ll see a list of your calendars under “My Calendars.” Click on three dots (kebab menu) or right-click on the calendar and select “Sharing and Permissions.”
This option will open a new panel on the right side, where you can manage who has access to your calendar.
- In the “Sharing and Permissions” panel, look for the field labeled “Invite people” and enter the email address of the person you want to share your calendar with.
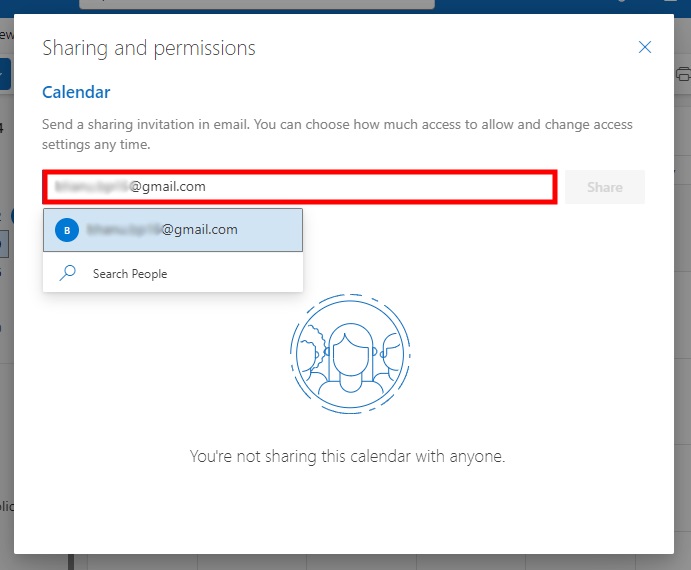
Tip: You can add multiple people by separating their email addresses with a semicolon.
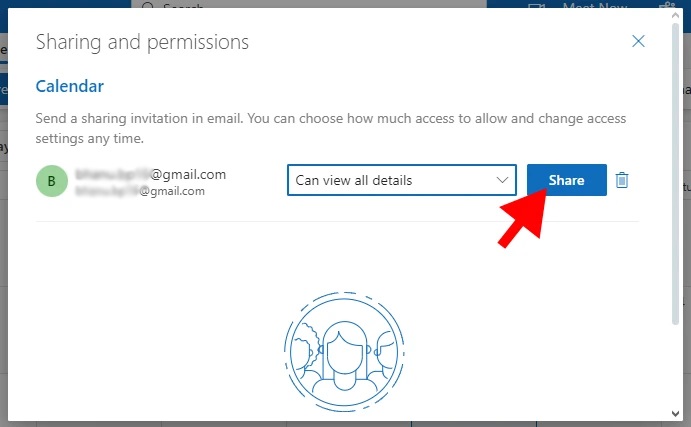
- After entering the email address, a drop-down menu will appear next to each recipient’s name, where you can set their permission level. Outlook provides two permission options:
- Can view all details: The recipient will have access to all event details.
- Can edit: The recipient can make changes to the shared calendar.
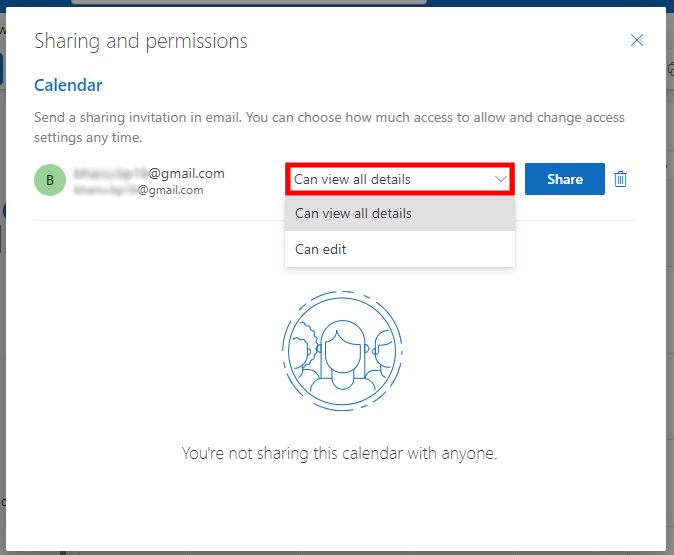
Choose the permission level that best fits your needs.
- Once you’ve set the permissions for each recipient, click the “Share” button.
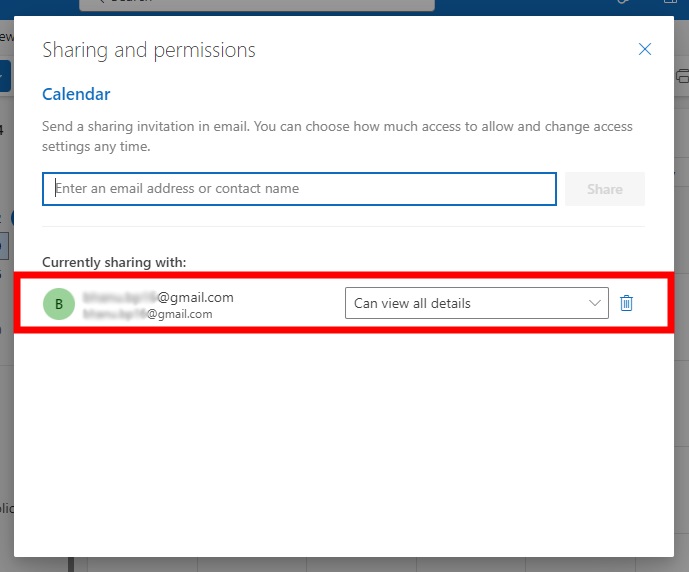
Outlook will send an email invitation to each recipient, notifying them that you have shared your calendar.
Tip: You can confirm that the calendar has been successfully shared by checking the “Sharing and Permissions” panel. It will list all the people who have access to your calendar and their permission levels.
How to Share Your Outlook Calendar on Android
Your Android smartphone is the most accessible device that you can use on the go. How about using your Android phone to share your Outlook calendar? Convenient. Isn’t it? Here’s how to share a calendar in Outlook using your Android device.
- Launch the Outlook mobile app on your phone. If you don’t have the app yet, head over to the Google Play Store, download it, and log in with your Microsoft account credentials.

- In the Outlook app, tap on the Calendar icon at the bottom of the screen. This will switch your view from your inbox to your calendar.

- Now that you’re in calendar view, you need to access the sharing options. In the upper-right corner of the screen, you’ll find a calendar icon or menu button. Tap it to open the calendar menu. Alternatively, you can slide your finger from the left edge of the screen to the right to access the same menu.

- In the side menu, you’ll see a list of your calendars. Under the “My Calendars” section, tap the Settings button next to the calendar you wish to share.

- Now, you’ll need to add the people you want to share your calendar with. Tap the “Add People” button to begin.

- A field will appear where you can enter the recipient’s email address. Start typing, and if the email is already in your contacts, it may auto-complete.

- Once you’ve entered the email address, tap the forward icon in the upper-right corner of the screen.

- Next, set the level of access you want to give. Tap on the email you just entered to choose from options like “only when I’m busy,” “only titles and locations,” or “all details.” Select the permission level that best fits the requirements.

- After setting the permissions, review everything to ensure it’s correct. If everything looks good, tap the tickmark icon in the upper-right corner.

The recipient will receive an email invitation to access your shared calendar, which they can add to their Outlook or other compatible calendar apps.
Conclusion
Sharing your calendar in Microsoft Outlook, whether on Windows, the web, or Android, is easy once you know where to look. Whether you want to provide full access or show when you’re free or busy, Outlook offers several flexible options to suit your needs. Understanding how to manage permissions and share calendar snapshots can make collaboration much easier, helping you stay organized and productive.
Frequently Asked Questions (FAQs)
Open Outlook, go to the calendar view, select “Calendar Permissions,” and remove the recipient.
Yes, you can send a calendar snapshot via email.
The recipient will receive an email invitation, and a confirmation will appear in Outlook.
Yes, you can right-click on the event and choose to share it via email.
Go to “Calendar Permissions” in the Outlook calendar view and modify the settings as needed.