
Let me show you how Windows 11 screenshot storage works and why it matters for maintaining an organized, efficient workflow. As a Technical Architect who’s spent years developing documentation standards across enterprise environments, I can tell you that understanding screenshot locations is one of the most effective ways to eliminate wasted time searching through folders and create a systematic approach to digital asset management.
Whether you’re looking to find a specific screenshot you captured yesterday, organize your growing collection of screen captures, or set up an efficient filing system for future screenshots, you’ll find everything you need in this comprehensive guide. I’ll walk you through the default storage locations for different screenshot methods, techniques for locating existing screenshots using File Explorer’s powerful search features, and proven strategies for customizing save locations to match your workflow requirements.
Need to learn different Windows 11 screenshot methods? Visit my complete guide on how to take screenshot in Windows 11
Table of Contents
Locating Default Screenshot Storage Locations in Windows 11
Using Direct Navigation Methods
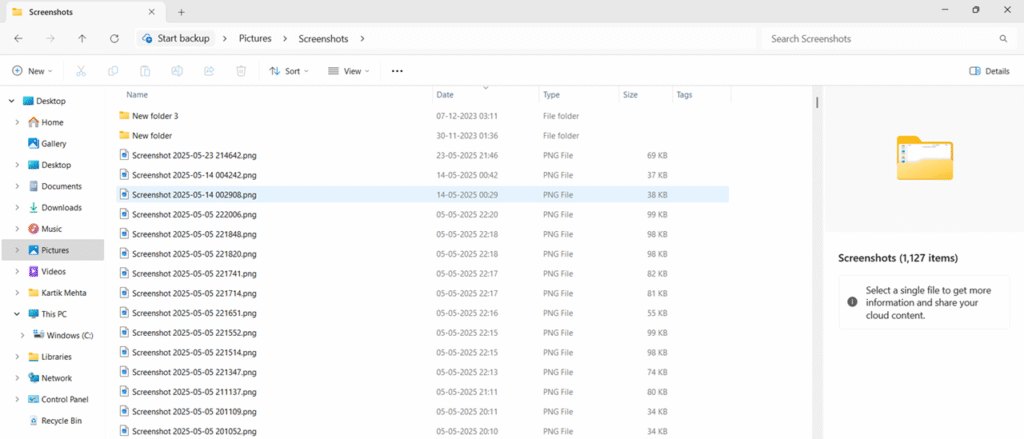
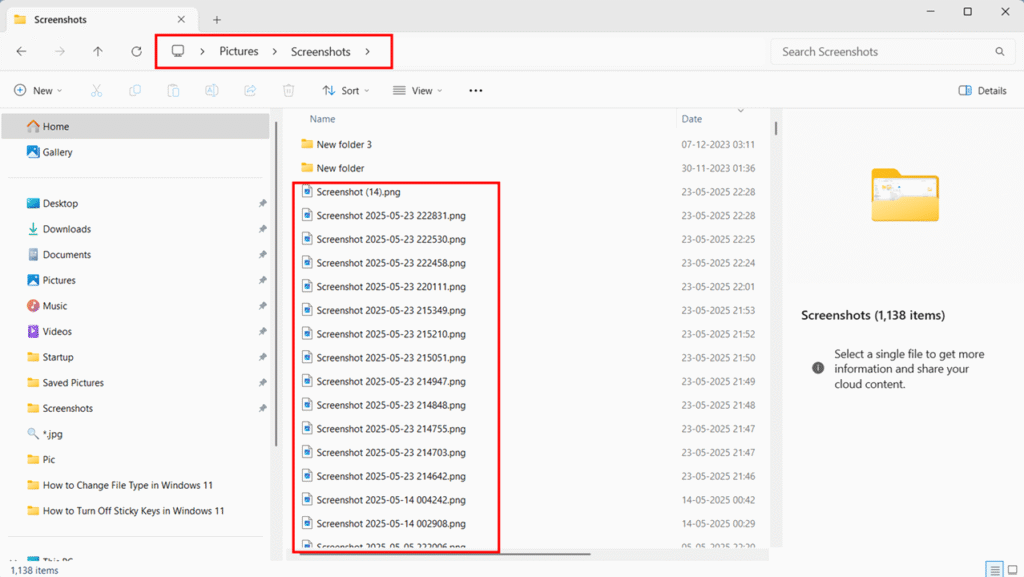
The quickest way to reach your default screenshots folder involves using File Explorer’s built-in navigation:
- Press Windows + E to open File Explorer. This keyboard shortcut instantly launches File Explorer from anywhere in Windows.
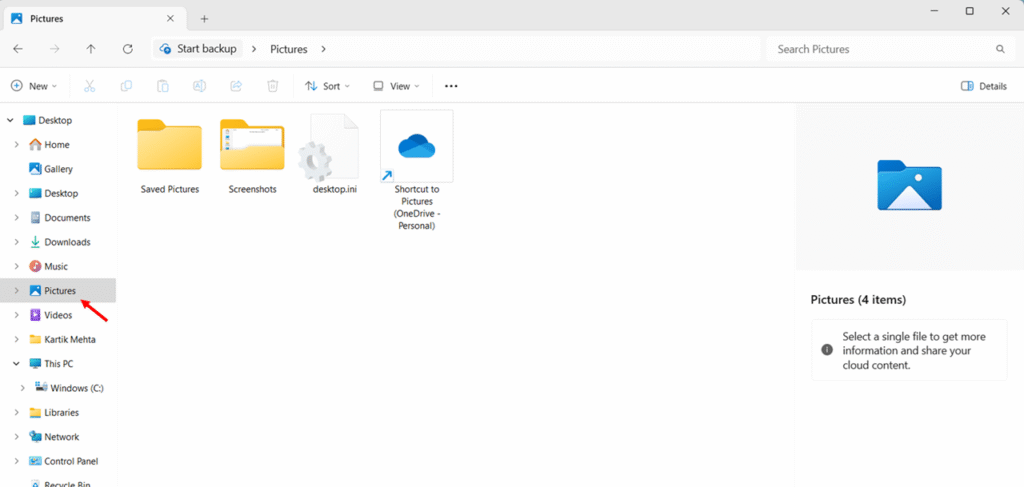
- Look for the Pictures folder in the left navigation pane under “This PC.” The Pictures folder typically appears as a default location in the navigation sidebar.
- Click on the Pictures folder to open it. This displays all subfolders within your Pictures directory.
- Locate the Screenshots subfolder within the Pictures folder. This folder is automatically created when you take your first screenshot using Windows + Print Screen.

- Double-click the Screenshots folder to open it. This reveals all screenshots saved using the Windows + Print Screen method.
Using the Address Bar for Quick Access of Default Screenshot location
When the Pictures folder isn’t visible in your navigation pane:
- Click in the address bar at the top of File Explorer. The address bar shows your current folder path.
- Type %userprofile%\Pictures\Screenshots in the address bar. This special path works regardless of your Windows username.
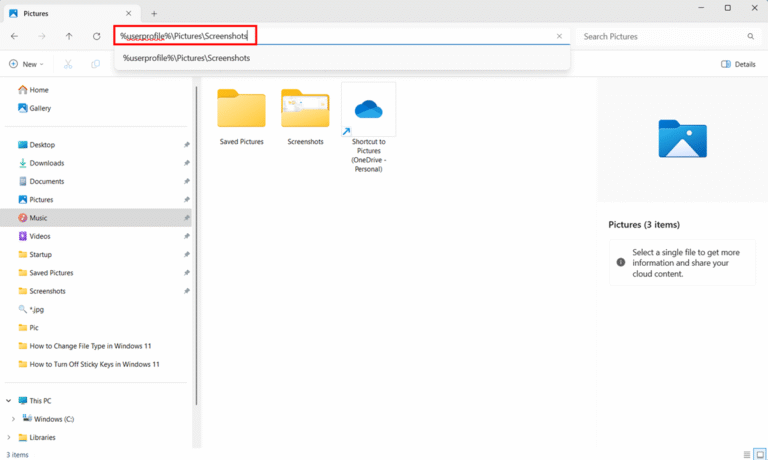
- Press Enter to navigate directly to the Screenshots folder. Windows automatically translates %userprofile% to your actual user directory path.
Using Shell Commands for Instant Access to Default Screenshot location
Shell commands offer the fastest route to screenshot folders:
- Open File Explorer by pressing Windows + E. This ensures you have a File Explorer window ready for the shell command.
- Click on the address bar at the top of the window. This selects the current path and prepares it for your input.
- Type shell:screenshots in the address bar. This special shell command directly references the Screenshots folder.
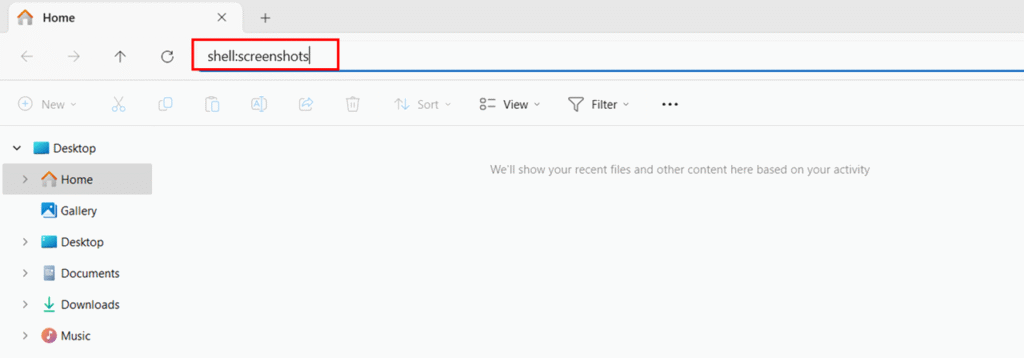
- Press Enter to execute the shell command. Windows immediately opens the Screenshots folder, even if it has been moved from its default location.
Using Windows Search for Screenshots
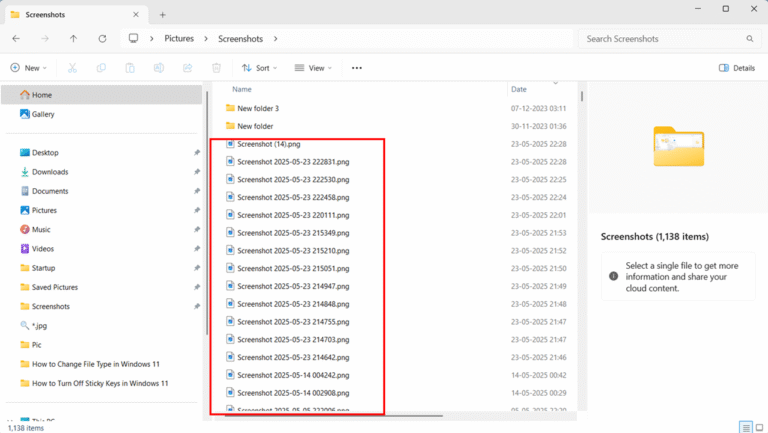
When you need to find screenshots across your entire system:
- Navigate to This PC in File Explorer. This starting point ensures you search your entire computer.
- Click the search box in the upper-right corner of the window. The search box becomes active when clicked.
- Type screenshot in the search box. This searches for all files with “screenshot” in their name.
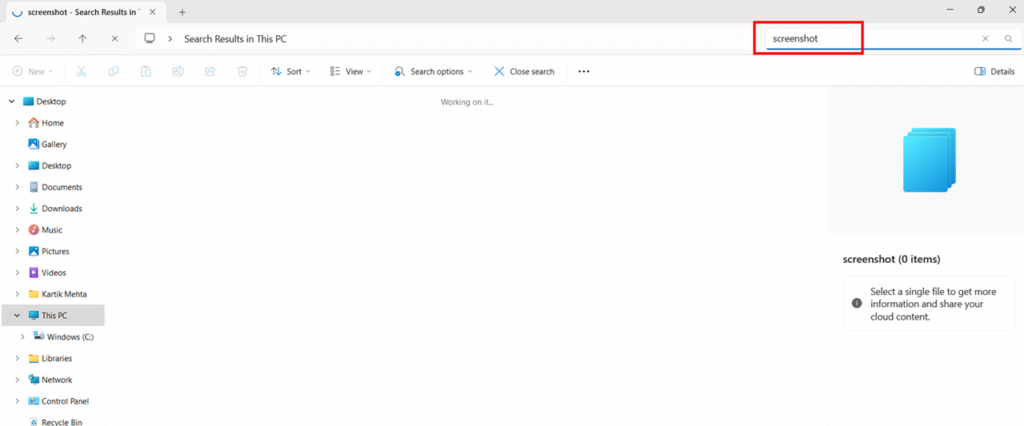
- Press Enter to start the search. Windows begins scanning all drives for matching files.
- Wait for search results to populate the window. Results appear as Windows finds matching files across your system.

Using Advanced Search Operators to Search Screenshots
Refine your search with powerful operators:
- Click in the search box within File Explorer. This prepares the search field for your query.
- Type datemodified:today to find screenshots taken today. This operator filters results by modification date.

- Add AND kind:picture to limit results to image files only. The AND operator combines multiple search criteria.

- Use datemodified:this week for screenshots from the past seven days. Time-based operators help find recent captures.
- Combine operators like screenshot datemodified:yesterday for precise filtering. Multiple operators create highly specific searches.
Pinning Folders to Quick Access Screenshot
Create instant navigation shortcuts:
- Navigate to your Screenshots folder in File Explorer. Open the folder you want to pin first.
- Right-click on the Screenshots folder in the navigation pane. The context menu appears with folder options.
- Select Pin to Quick access from the context menu. This adds the folder to your Quick access section.
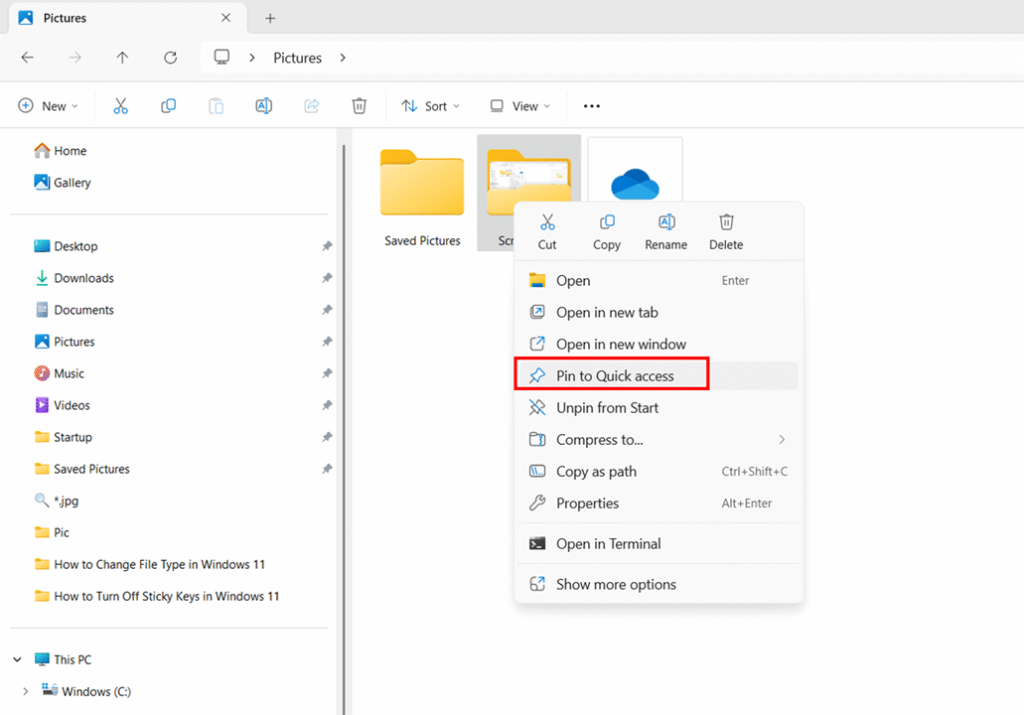
- Find your pinned Screenshots folder in the Quick access section. Quick access appears at the top of the navigation pane.

- Click the pinned shortcut to jump directly to screenshots. One-click provides instant access to your screenshot collection.
Creating Desktop Shortcuts to Default Screenshot location
Set up desktop access for maximum convenience:
- Navigate to your Screenshots folder in File Explorer. Locate the folder for which you want to create a shortcut.
- Right-click on the Screenshots folder. This opens the context menu. Click on Show more options.

- Hover over Send to in the new context menu. A submenu appears with destination options.
- Select Desktop (create shortcut) from the submenu. Windows creates a shortcut on your Desktop.
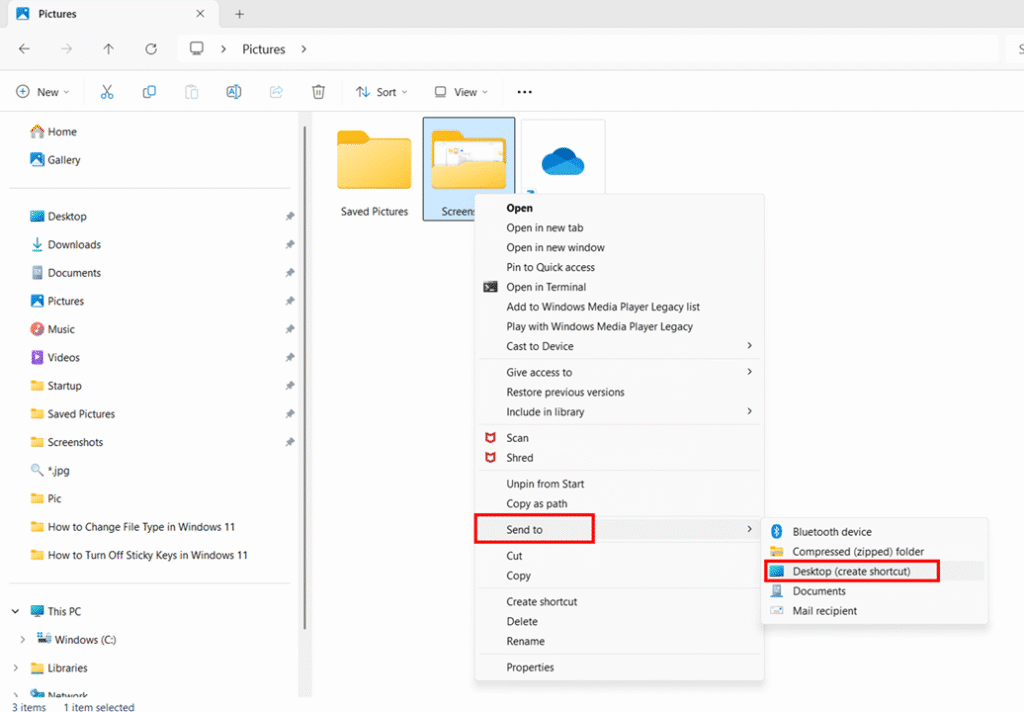
- Find the new Screenshots – Shortcut icon on your Desktop. Double-click this shortcut anytime for instant access.

Xbox Game Bar Captures Folder
Find gaming screenshots in their dedicated location:
- Open File Explorer using Windows + E. Start with a fresh File Explorer window.
- Navigate to the Videos folder under This PC. Game Bar uses a different default location.
- Look for the Captures subfolder within Videos. This folder contains Game Bar screenshots and recordings.

- Double-click Captures to open it. Access all your gaming screenshots in this location.
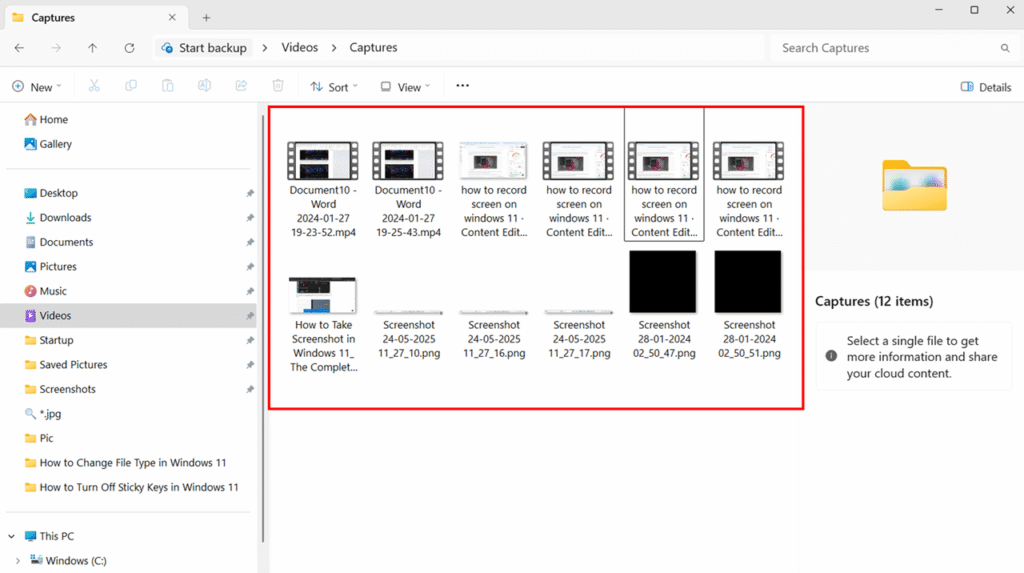
- Sort by Date modified to find recent captures. Gaming screenshots appear in chronological order.
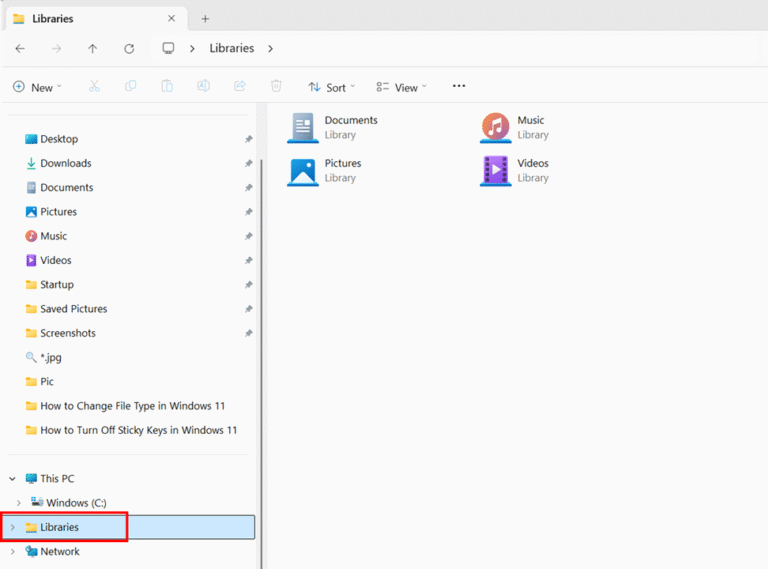
Libraries for Centralized Access of Screenshots
Use libraries to manage multiple screenshot locations:
- Click on Libraries in the File Explorer navigation pane.
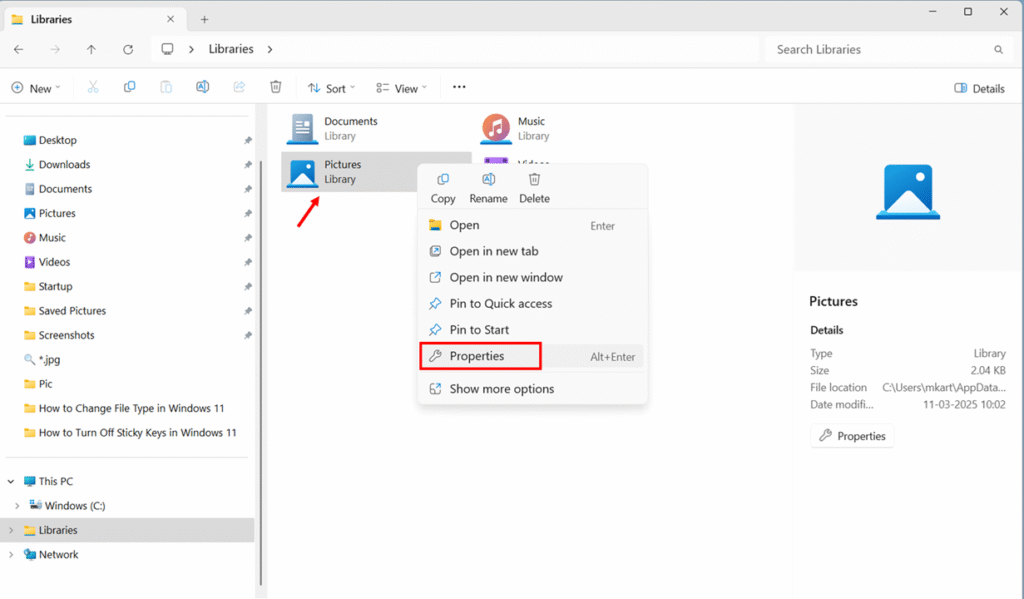
- Right-click on the Pictures library and select Properties. Open library configuration settings.
- Click Add to include additional screenshot folders. Browse to folders containing screenshots.

- Select folders and click Include folder to add them. Create a centralized view of all screenshot locations.
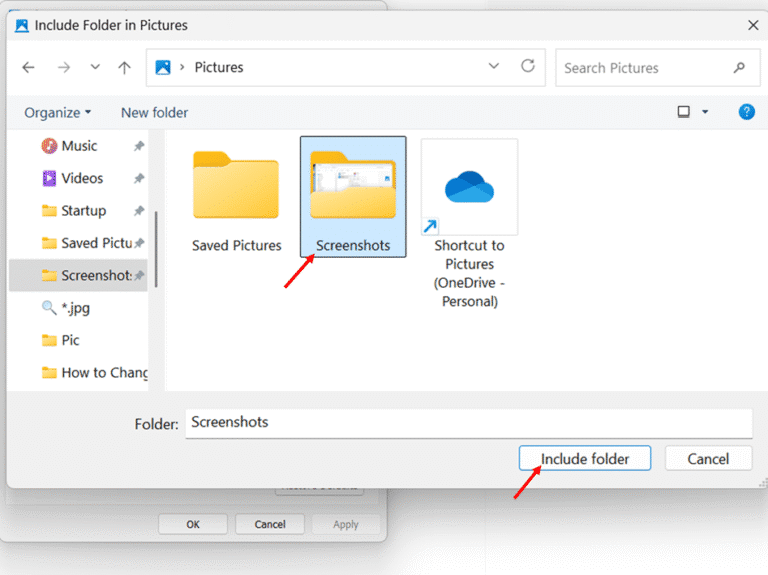
- Click on Apply and then OK

How to Change Default Screenshot Save Location
Taking control of where Windows 11 saves your screenshots can transform a cluttered Pictures folder into an organized filing system that matches your workflow. Whether you want to save screenshots to an external drive, cloud storage folder, or specific project directory, Windows 11 provides multiple methods to customize screenshot storage locations.
Changing Windows + Print Screen Screenshot Location
For screenshots taken with the Windows + Print Screen keyboard shortcut, changing the default save location involves modifying the Screenshots folder properties.
- Press Windows + E to open File Explorer. This keyboard shortcut provides quick access to File Explorer from anywhere in Windows.
- Navigate to the Pictures folder in the left navigation pane under “This PC.” The Pictures folder contains your default Screenshots subfolder.
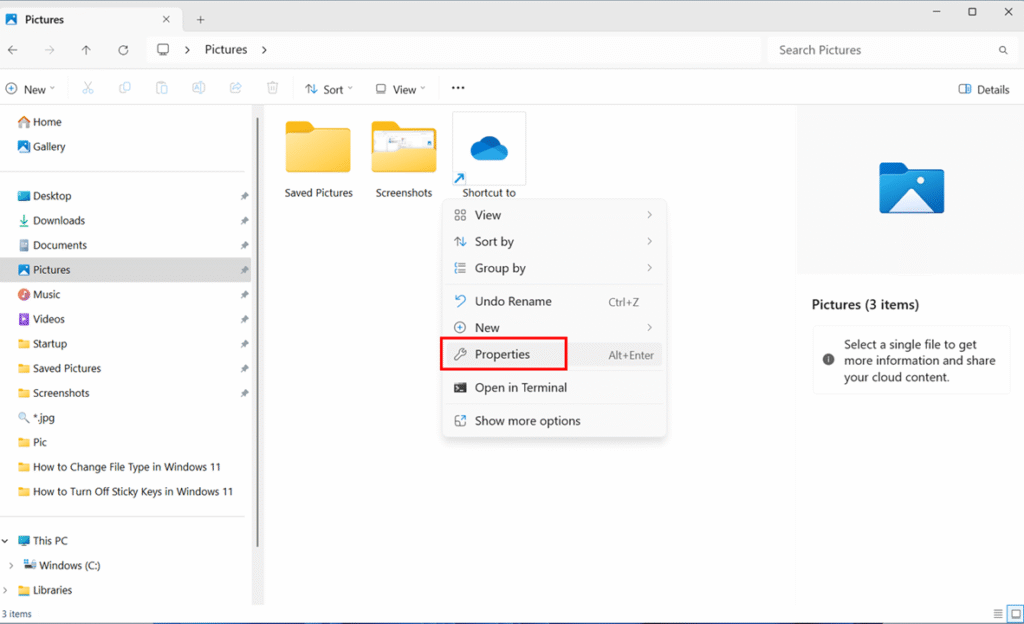
- Right-click on the Screenshots folder within Pictures. This opens the context menu with folder management options.
- Select Properties from the context menu. The Properties dialog box contains various folder configuration settings.
- Click the Location tab at the top of the Properties window. This tab displays the current folder path and location management options.

- Click the Move button to change the screenshot save location. A folder browser window opens for destination selection.

- Select the path to where you want Screenshot save location
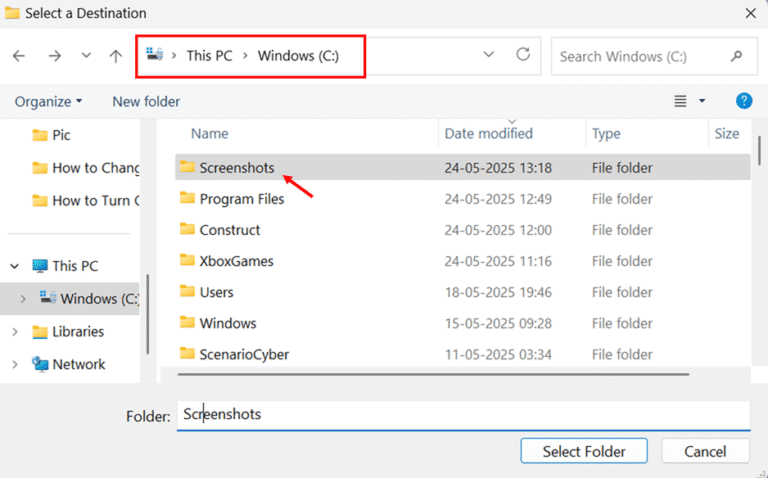
- Click on Apply and then OK

Modifying Snipping Tool Save Location
The Snipping Tool requires different steps to change its automatic save location, with settings accessible directly within the application.
- Open the Snipping Tool by searching for it in the Start menu. Type “Snipping Tool” and click the application when it appears.

- Click the three dots button in the upper-right corner. This opens the Snipping Tool’s menu options.
- Select Settings from the dropdown menu. The Settings page contains various Snipping Tool configurations.

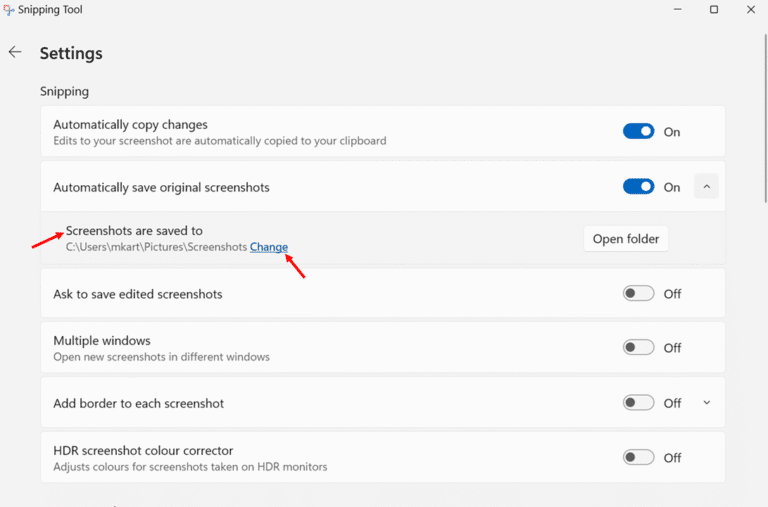
- Scroll down to find “Automatically save screenshots.” This section controls the automatic saving behavior.
- Click the arrow next to “Automatically save screenshots” to expand options. Additional settings appear below this option.
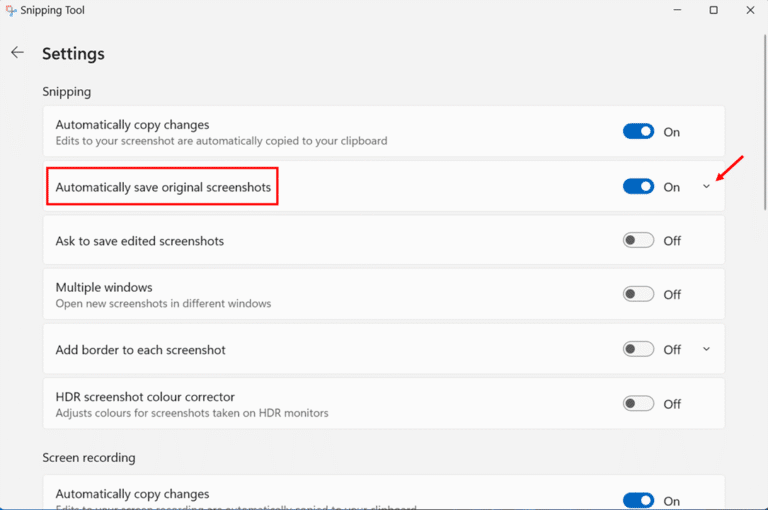
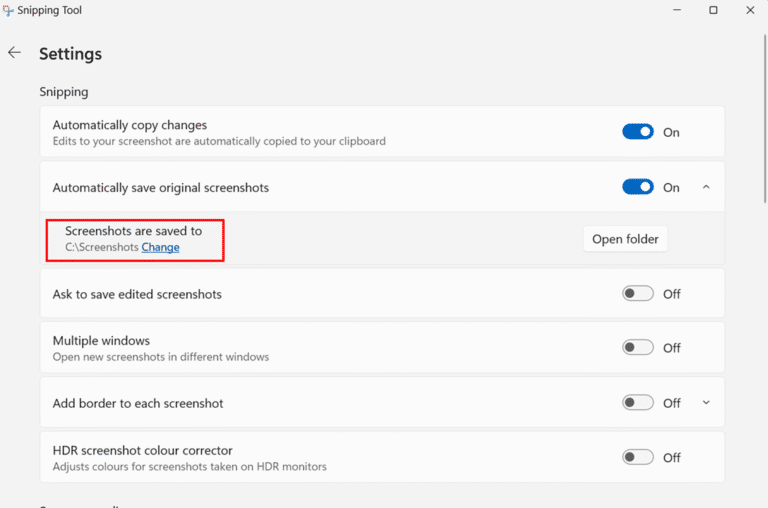
- Look for “Screenshots are saved to” under the expanded settings. This displays the current save location path.
- Click the Change link next to the current location. A folder browser window opens to select a new location.
- Navigate to your preferred folder location. Choose any accessible directory on your system.
- Click Select Folder to confirm the new location. The Snipping Tool updates its save path immediately.

- Close the Settings window to return to the main Snipping Tool interface. Future screenshots will be saved to the new location automatically.
Changing Xbox Game Bar Screenshot Location
Xbox Game Bar screenshots require a different approach since they save to the Videos folder by default.
- Open File Explorer and navigate to the Videos folder. This folder contains the Captures subfolder for Game Bar content.

- Right-click on the Captures folder within Videos. The context menu provides folder management options.
- Select Properties from the menu. The Captures Properties window opens.

- Click the Location tab at the top of the Properties window. This tab displays the current folder path and location management options.

- Click the Move button to change the screenshot save location. A folder browser window opens for destination selection.

- Select the path to where you want Screenshot save location
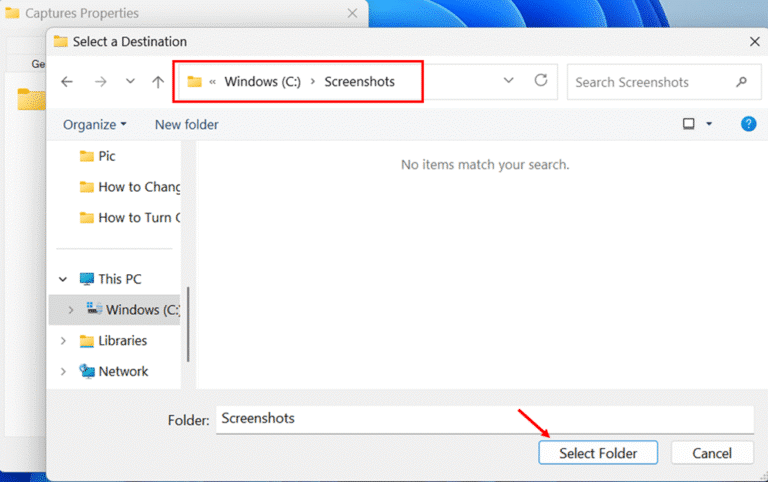
- Click on Apply and then OK

For maximizing your screen real estate and creating a cleaner desktop experience, check out my detailed guide on how to hide the taskbar in Windows 11
Conclusion
You now have complete control over your Windows 11 screenshot workflow. From understanding where different methods save their captures to customizing storage locations and efficiently locating files through File Explorer, these techniques eliminate the frustration of lost screenshots. Whether using the automatic Windows + Print Screen method, the flexible Snipping Tool or gaming captures through Xbox Game Bar; you know exactly where to find your images and how to organize them effectively.
I encourage you to implement the organizational strategies that best match your workflow. Set up Quick Access shortcuts to your screenshot folders, configure automatic saving preferences in the Snipping Tool, and establish a consistent filing system that works for your needs. With these skills, you’ll transform screenshot management from a time-consuming search into an efficient, organized system that enhances your productivity rather than hinders it.
Frequently Asked Questions (FAQs)
Screenshots automatically save to C:\Users[Your Username]\Pictures\Screenshots as PNG files. Windows creates this folder automatically when you take your first screenshot.
Game Bar screenshots save to C:\Users[Your Username]\Videos\Captures, separate from regular Windows screenshots.
Windows doesn’t include automatic upload features beyond OneDrive integration. However, you can achieve this by moving your Screenshots folder to your Google Drive, Dropbox, or other cloud service folders. Right-click the Screenshots folder, select Properties, go to the Location tab, and move it to your cloud storage directory. Alternatively, use cloud service applications like Dropbox’s screenshot auto-upload feature.
The Windows Snipping Tool includes basic annotation tools like pen, highlighter, and text after capturing. For automatic watermarking, you’ll need third-party solutions like Snagit, which automatically apply templates and watermarks to screenshots.
Windows + Print Screen automatically saves a full-screen capture to the Screenshots folder. Windows + Shift + S opens the Snipping Tool for selective capture.
