
If you’ve ever felt frustrated by sluggish system performance or encountered quirky device behavior, outdated drivers might be the silent culprit.
But fear not! In this comprehensive guide, we’ll delve into the intricacies of updating drivers in Windows 11, ensuring that your system runs smoothly and efficiently. Whether you’re a seasoned tech enthusiast or a novice user, mastering the art of driver updates is key to unlocking the full potential of your PC. So, let’s dive in and discover how to update drivers in Windows 11 with ease and confidence.
Table of Contents
Why are Driver Updates Necessary?
Before we explore into the step-by-step process of updating drivers, it’s crucial to grasp why these updates are necessary. Think of drivers as the translators of your computer system, enabling smooth communication between your hardware devices (like printers, graphics cards, and keyboards) and the software they interact with.
Without updated drivers, your system may encounter various issues, including compatibility issues with new software, instability, and even security vulnerabilities. Keeping your drivers up-to-date ensures your system runs smoothly and optimally, providing you with a hassle-free computing experience.
4 Working Ways to Update Drivers on Windows 11
Whether you’re a tech-savvy enthusiast or a casual user, mastering these techniques will empower you to keep your drivers up to date effortlessly. Let’s explore the four working ways to update drivers on Windows 11!
How to Update Drivers Using Device Manager
To update drivers on your Windows computer, using Device Manage is one of the common and go-to ways. Here’s how to use Device Manager to update drivers:
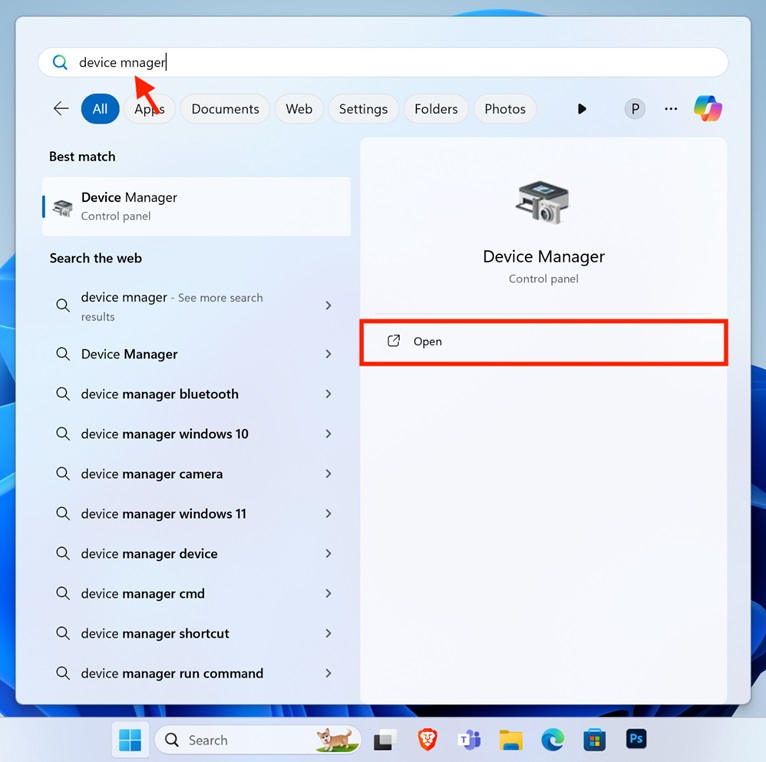
- Click on the Start button (Windows icon) in the bottom left corner of your screen or press the Windows key. Then, type “Device Manager” into the search bar and press Enter. Click on the “Device Manager” option from the search results to open it.
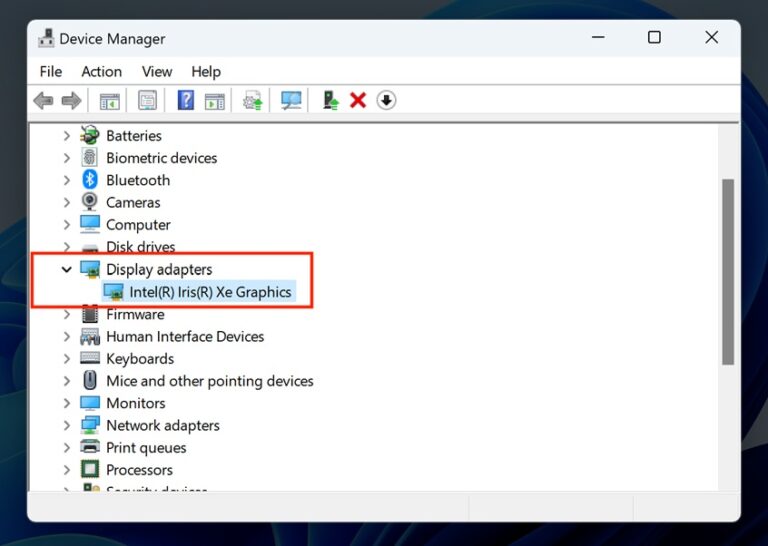
- Within Device Manager, you’ll see a list of different device categories. Navigate through the list and find the specific device you want to update the driver. Simply double-click on the device from the list to expand and get the list of installed device drivers.
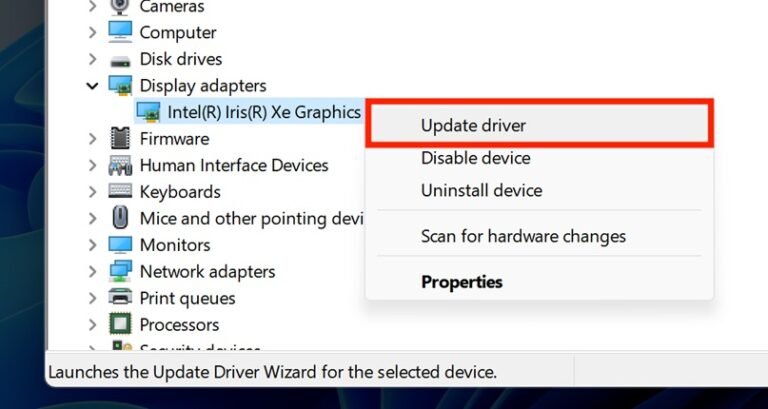
- Right-click on the device driver you want to update, and a menu will appear. Select “Update Driver” from the menu to initiate the driver update process.
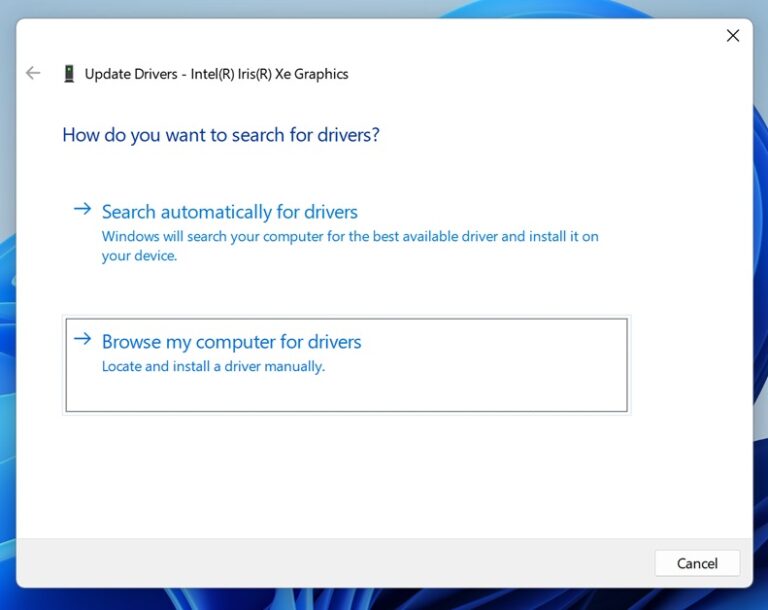
- In the ensuing window, you’ll have two options: “Search automatically for drivers” or “Browse my computer for drivers.” Choose the one that best suits your preferences.
If you select “Search automatically for drivers,” Windows will automatically scan your system and search for compatible drivers online. If it finds any suitable drivers, it will download and install them automatically. Follow any on-screen prompts to complete the process.

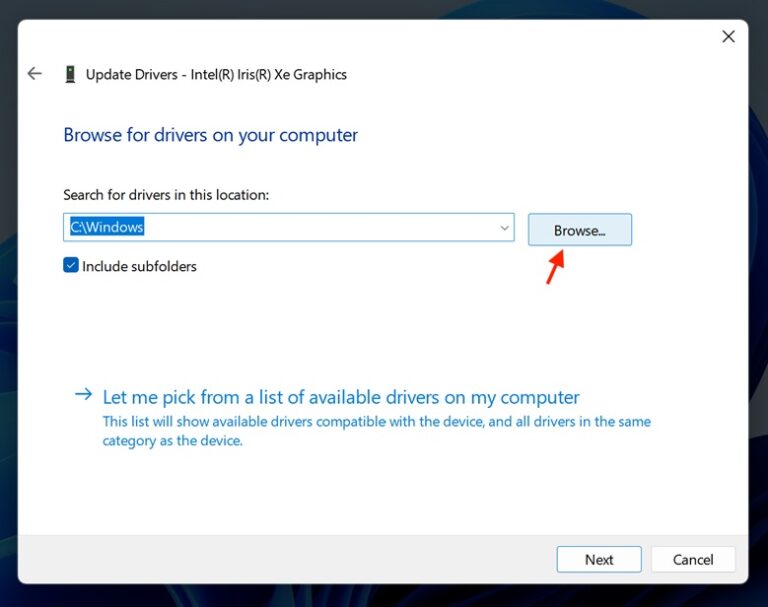
- If you prefer manually installing the drivers, choose “Browse my computer for drivers.” This will let you manually select the downloaded drivers and install them.
- Simply click on the “Browse” button and navigate to the location where you have downloaded the driver files, or specify the location manually if you have them saved elsewhere.
- Once you’ve selected the appropriate driver files, follow the prompts to complete the installation process. Depending on the driver, you may need to go through a series of installation steps. If prompted, restart your PC to apply the changes.
Tip: You should choose the “Search automatically for drivers” option, as it automatically checks, downloads, and installs the required driver files on your PC.
By following these steps, you can easily update your Windows devices’ drivers, ensuring optimal performance and compatibility.
How to Update Drivers Using Windows Update
Direct Windows Updates also provides driver updates and is a convenient method for keeping your drivers up-to-date. Here’s how to access and install driver updates using Windows Update:
- Start by opening Settings. You can do this quickly by pressing the Windows key and “I” simultaneously on your keyboard.
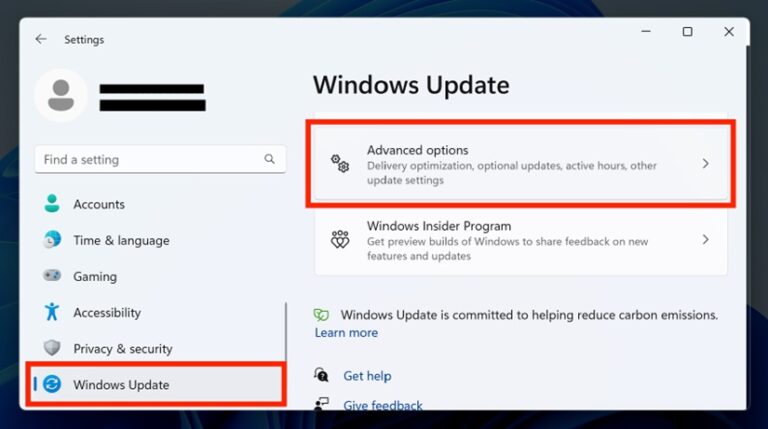
- In the Settings menu, locate and click on “Windows Update” in the sidebar. This will take you to the Windows Update settings.
Once in the Windows Update settings, look for the “Advanced Options” link and click on it.
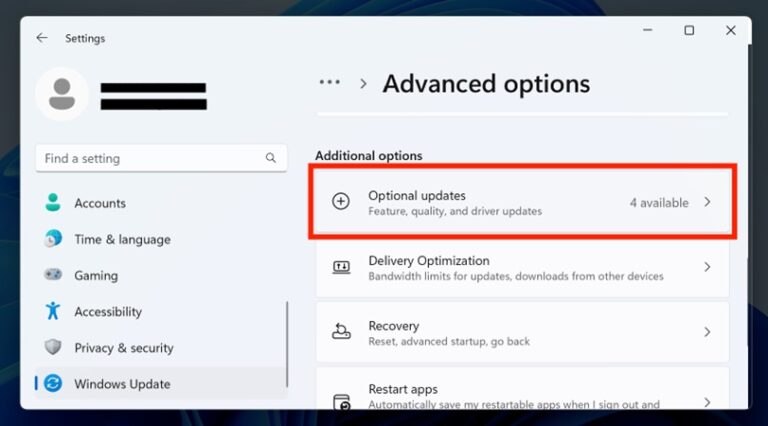
- Scroll down the Advanced Options page until you find the section labeled “Optional Updates.” Click on it to expand the section.
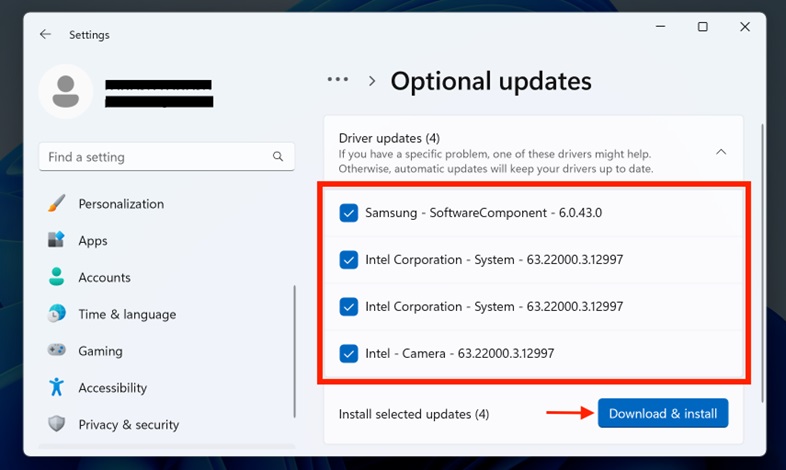
- Within the Optional Updates section, you’ll see a header labeled “Driver Updates.” Expand this header to reveal the list of available driver updates.
- Take your time browsing through the list and identifying the driver updates you wish to install. You can select multiple updates if needed.
After selecting the desired updates, click on the “Download & Install” button to begin the update process.
- Follow any on-screen prompts that may appear during the installation process. In some cases, you may need to restart your PC to complete the installation of certain drivers.
Following these steps, you can easily update your drivers using Windows Update, ensuring your PC stays up-to-date with the latest driver improvements and enhancements.
How to Update Drivers from an OEM Website
When Windows Update doesn’t offer the driver you need for your PC, you can take matters into your own hands by manually downloading and installing the driver from the OEM website. The OEM, or Original Equipment Manufacturer, is the company that produces your PC, such as Dell, Lenovo, or HP. Visiting the support website of your OEM and searching for your device model will lead you to the appropriate drivers.
Let’s take Lenovo as an example, though the steps are generally similar for other OEMs. It’s essential to download drivers directly from the official source rather than relying on third-party websites.
Here’s how to proceed:
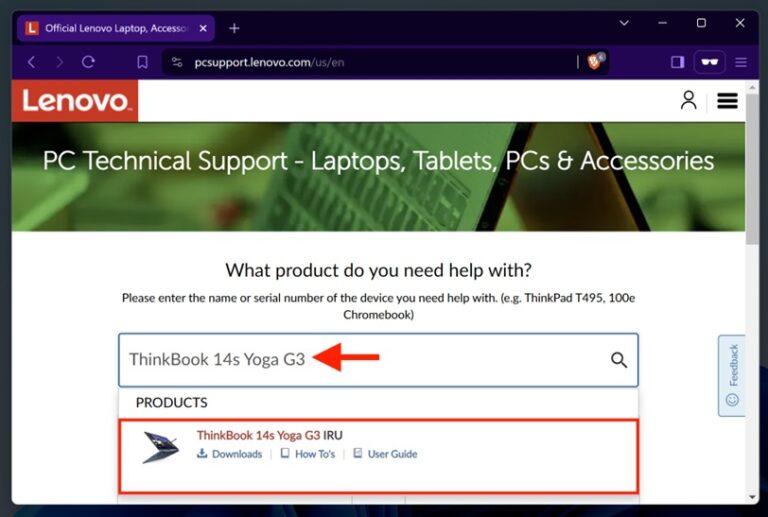
- Visit the support page for your OEM. If you’re unsure where to find it, a quick search on Google should lead you in the right direction. In my case, it is pcsupport.lenovo.com
- Choose your specific product by entering its serial number, model name, or using any detection software provided by your OEM and confirm your product selection to ensure accuracy.
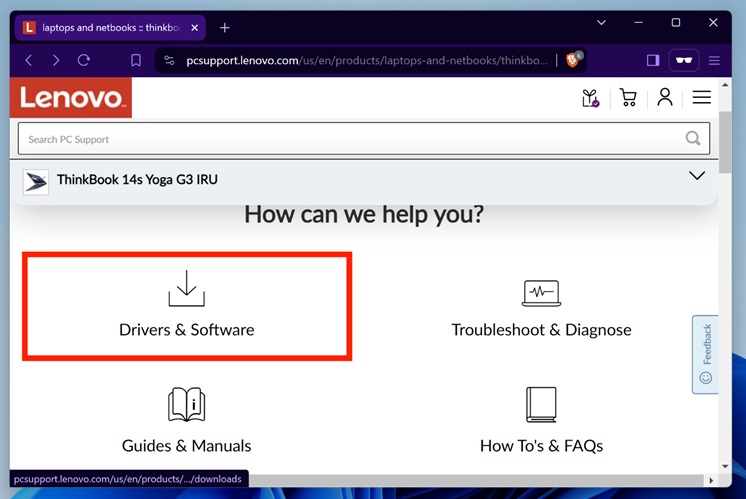
- Once on the support page of your specific device, click on the “Driver and Software” or similar option.
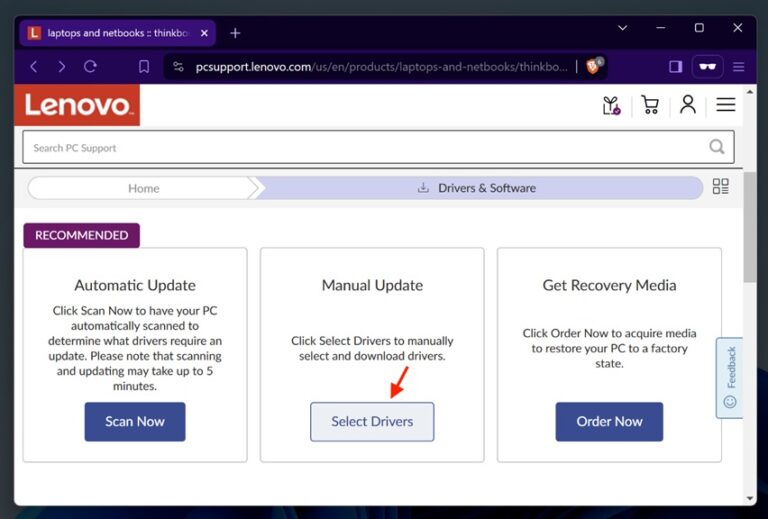
- Locate the way you want to update the drivers. For example, Lenovo also offers to Scan your PC and update the drivers automatically or manually select the drivers to download. I am going with the “Select Driver” option as I want to download and install the drivers manually.
- Navigate to the driver you want to download and click “Download” associated with the latest driver.
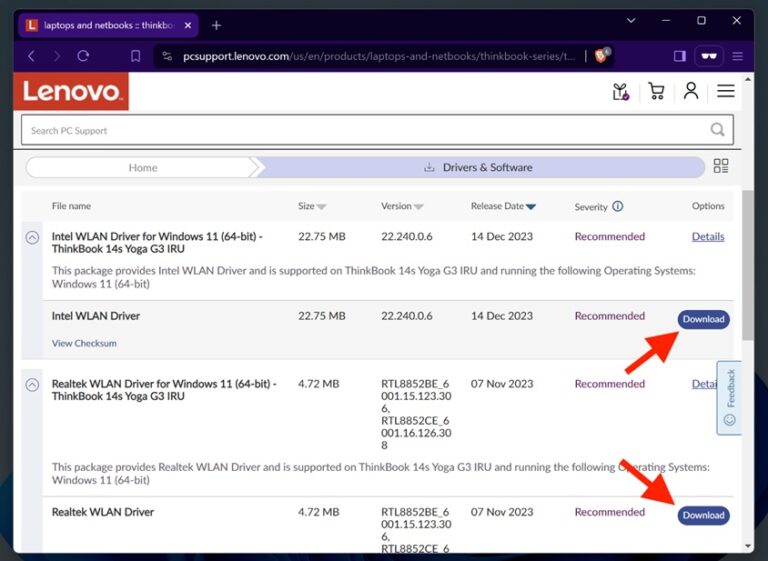
- Once downloaded, locate the drivers you downloaded and double-click on it to install it.

Tip: If double-clicking the file does not launch the installation, proceed to the manual installation by following the steps mentioned in Method 1.
By following these steps, you can safely and efficiently obtain and install the necessary drivers for your PC directly from the OEM’s official website, ensuring compatibility and reliability.
How to Update Drivers Using AVG Driver Updater
If manual burden is something that you want to cut off, then using the AVG Driver Updater is the way to go. It offers a completely automatic and peaceful way to keep your Windows 11 drivers up to date. It is also a proven method for beginner Windows users.
Follow these simple steps to automate the process and ensure your Windows 11 PC runs smoothly:
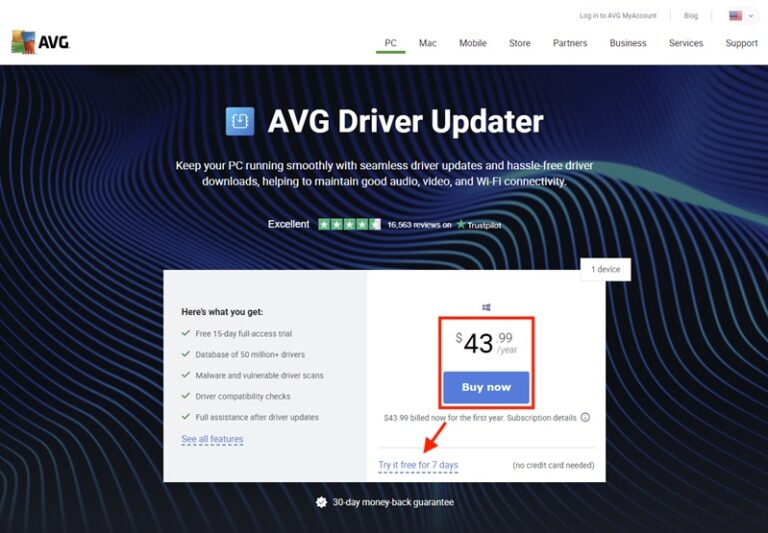
- Download the setup file from the official AVG website to install AVG Driver Updater on your Windows 11 PC.
Though it is a paid software, you can opt for a 7-Days free trial to ensure that you are paying for the right software. Simply click on the “Try it free for 7 days” option.
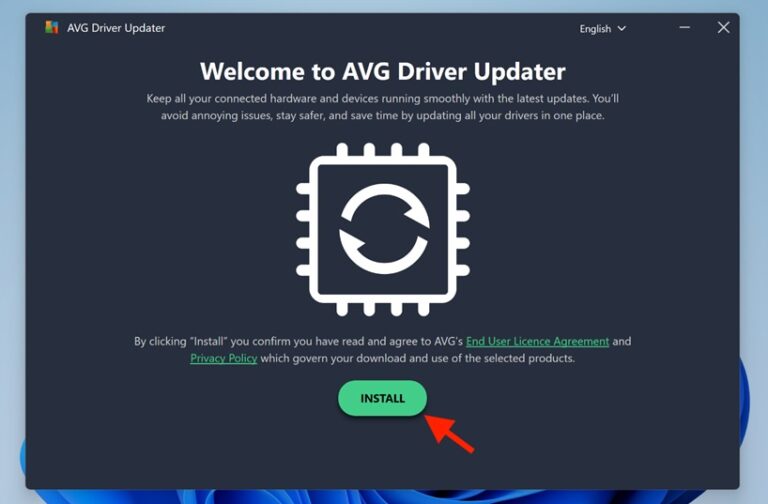
- Once downloaded, double-click the file to begin the installation process.

The AVG Driver Updater installation windows will appear. Here, click on the “Install” button.
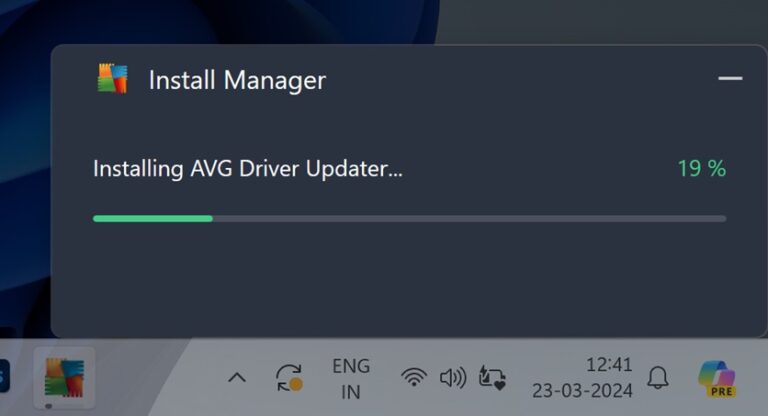
The installation process will begin, and soon, you’ll be greeted with the AVG Driver Updater tool open on your screen.
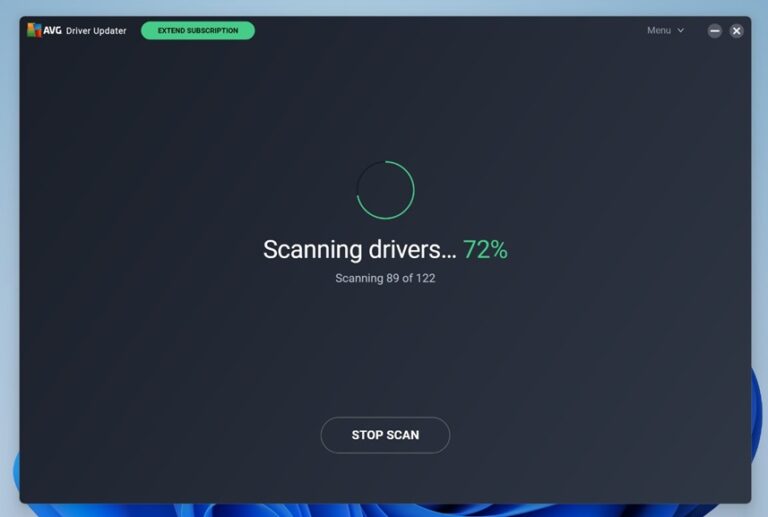
- Once AVG Driver Updater is launched, initiate a driver scan by clicking on the “SCAN DRIVERS” button within the AVG Driver Updater interface.
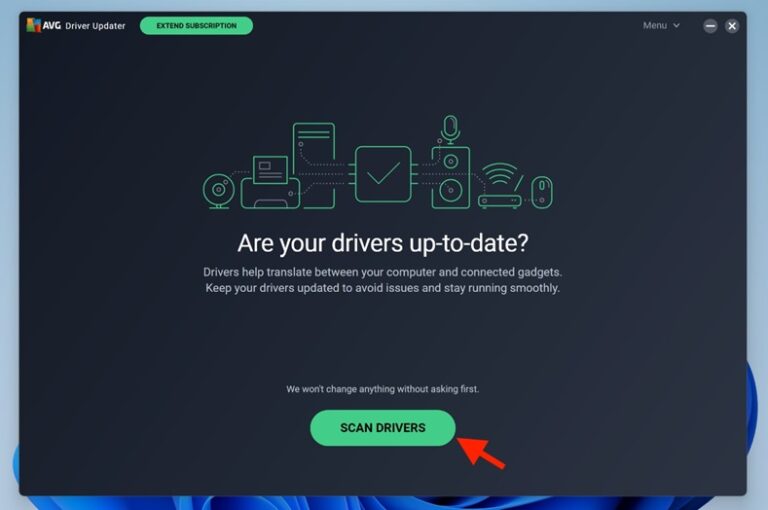
This will trigger the program to analyze your system and identify outdated or malfunctioning drivers.
- Review the scan results presented by AVG Driver Updater. You’ll see a list of drivers that require updating, along with details about each driver’s status.
Select the drivers you wish to update by placing a checkmark next to their names. You can choose to update all the drivers listed or select specific ones based on your preferences.
Click on the “Update Selected” button to proceed with the automatic driver update process.
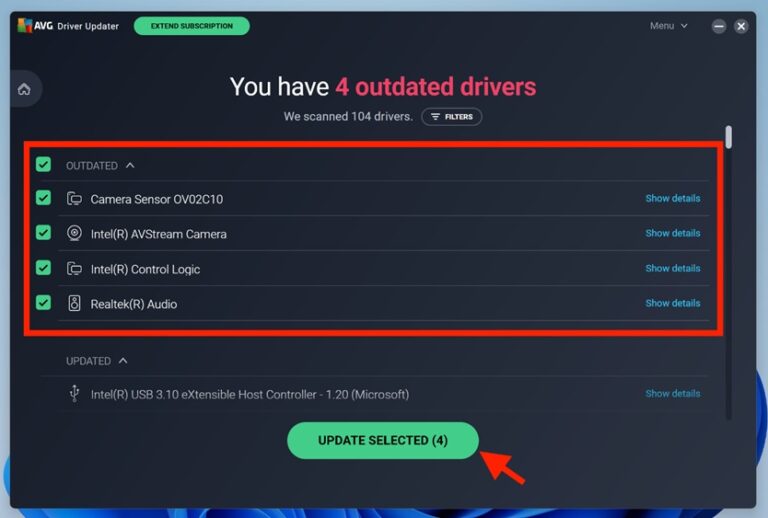
AVG Driver Updater will download and install the latest driver versions for the selected devices, ensuring optimal performance and stability.
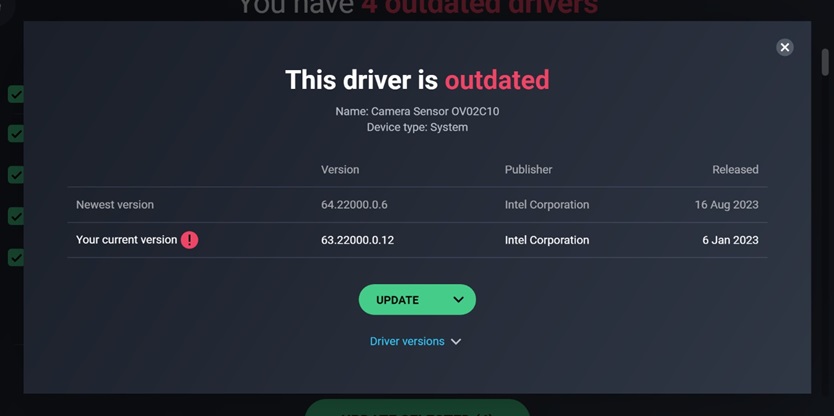
Tip: If you prefer to update specific drivers individually, click on the “Show details” option next to each driver.
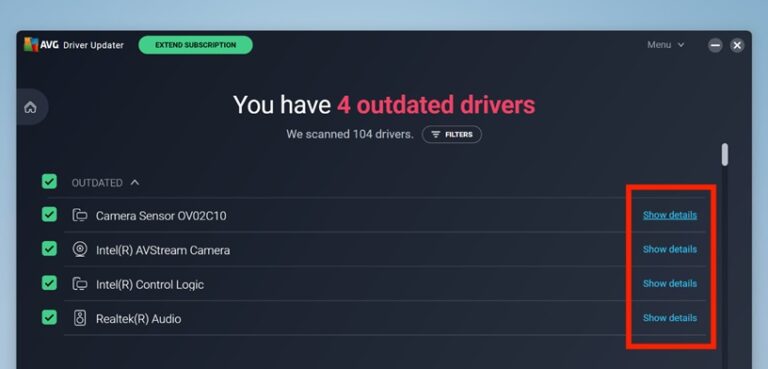
This will provide more information about the selected driver, allowing you to make an informed decision before updating.
Once the update process is complete, restart your PC to apply the changes. This step is essential to ensure that the new drivers take effect and your system operates smoothly with the updated drivers in place.
Best Practices for Driver Updates
Ensure a smooth driver update experience with these best practices:
- Regularly check for driver updates to maintain optimal system performance.
- Always create a system backup before updating drivers to mitigate any unforeseen complications.
- Exercise caution when downloading drivers from third-party sources, prioritizing legitimacy and authenticity.
- Avoid installing unnecessary driver updates, especially if your system is functioning smoothly, to minimize the risk of compatibility issues.
- Research driver updates thoroughly before installation, paying attention to user feedback and reviews to ensure compatibility and reliability.
- Consider updating drivers during off-peak hours to minimize disruption to your workflow and productivity.
- Monitor system performance after updating drivers to detect any potential issues early on and address them promptly.
Conclusion
And there you go! This is how you can master the art of driver updates in Windows 11! Equipped with our comprehensive guide and expert tips, you’re now poised to tackle any driver-related challenge confidently. Optimize your PC experience like never before, and watch as your system thrives with enhanced performance and stability.
